
Growing your own vegetables and having a beautiful garden is what we all love, but finding space that is large enough to dig out soil and have a garden can be challenging and time-consuming. A raised garden bed is the solution to growing your own vegetables. It can be set up in 15 minutes and with 0.5m and 1m options available, you can fit one within a 0.5 x 0.5-metre space. The hardest thing about growing your own vegetables is being patient and waiting for them to grow. A great way to having faster-growing vegetables is a raised garden bed. The soil in a raised garden bed is less compact and raised from the ground allowing the soil to be warmer. Vegetables love warm and loose soil. It allows the vegetable roots to spread out and find nutrients quicker, helping them to thrive and grow faster.
Raised garden beds are incredibly easy to maintain. The soil is kept neatly within the non-toxic, wood composite panels and thanks to the weed mat you will not have the issue of overgrown weeds and the hassle of ‘weeding’. Included in the Raised Garden Bed kit is a complete watering system that features a clever dripping hose that covers the entire garden bed allowing the water to run evenly throughout the soil. This saves the time of handheld manual watering. All you need to do is connect the watering system to a tap and you are ready to start growing.
WHERE TO BUILD
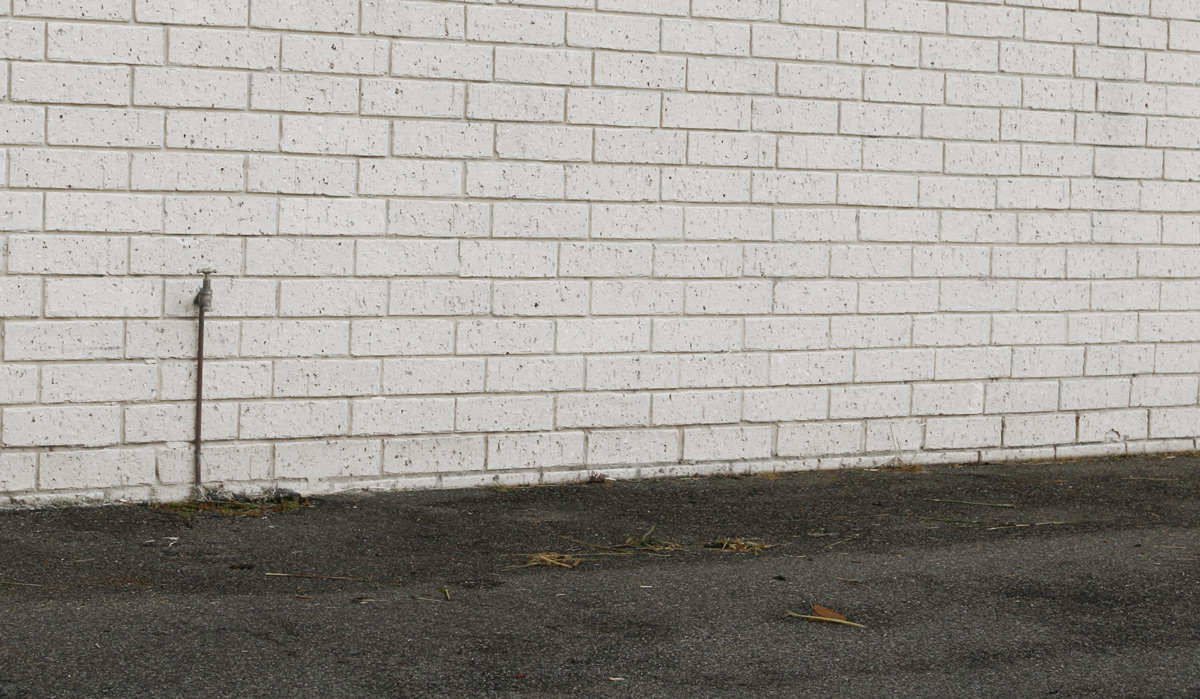
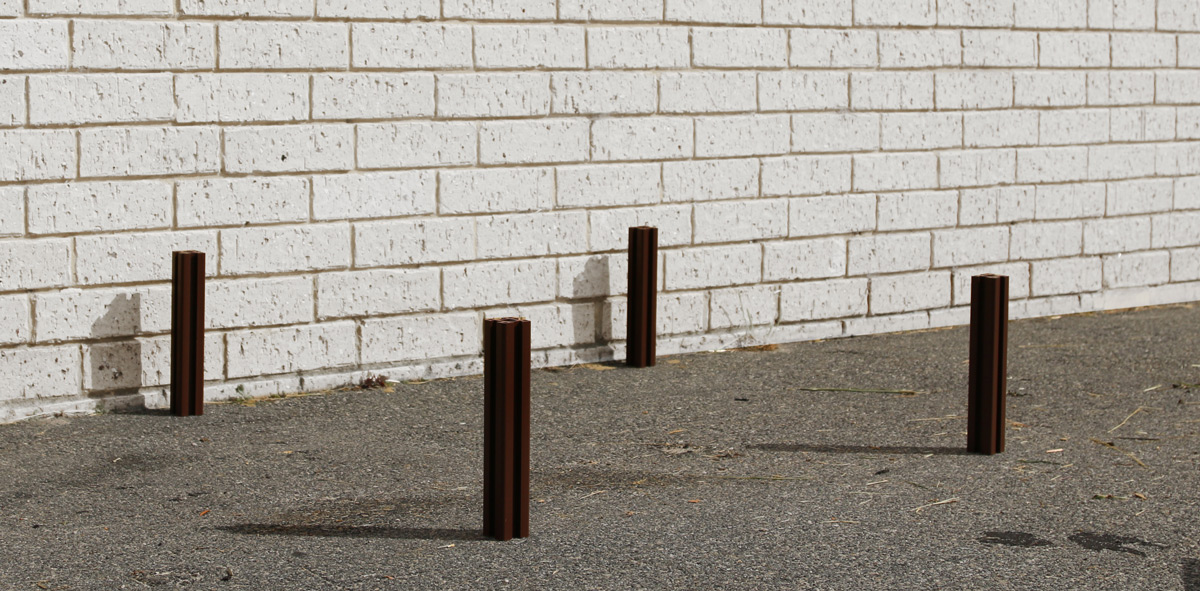
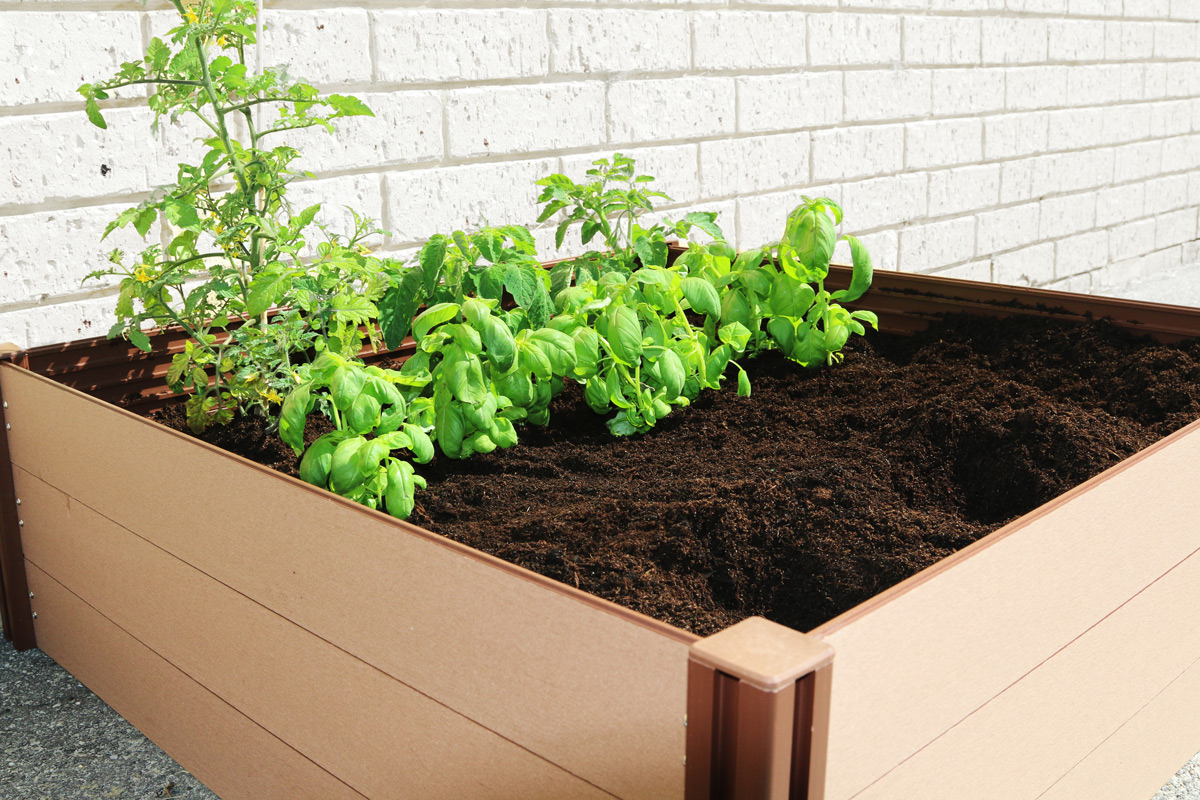
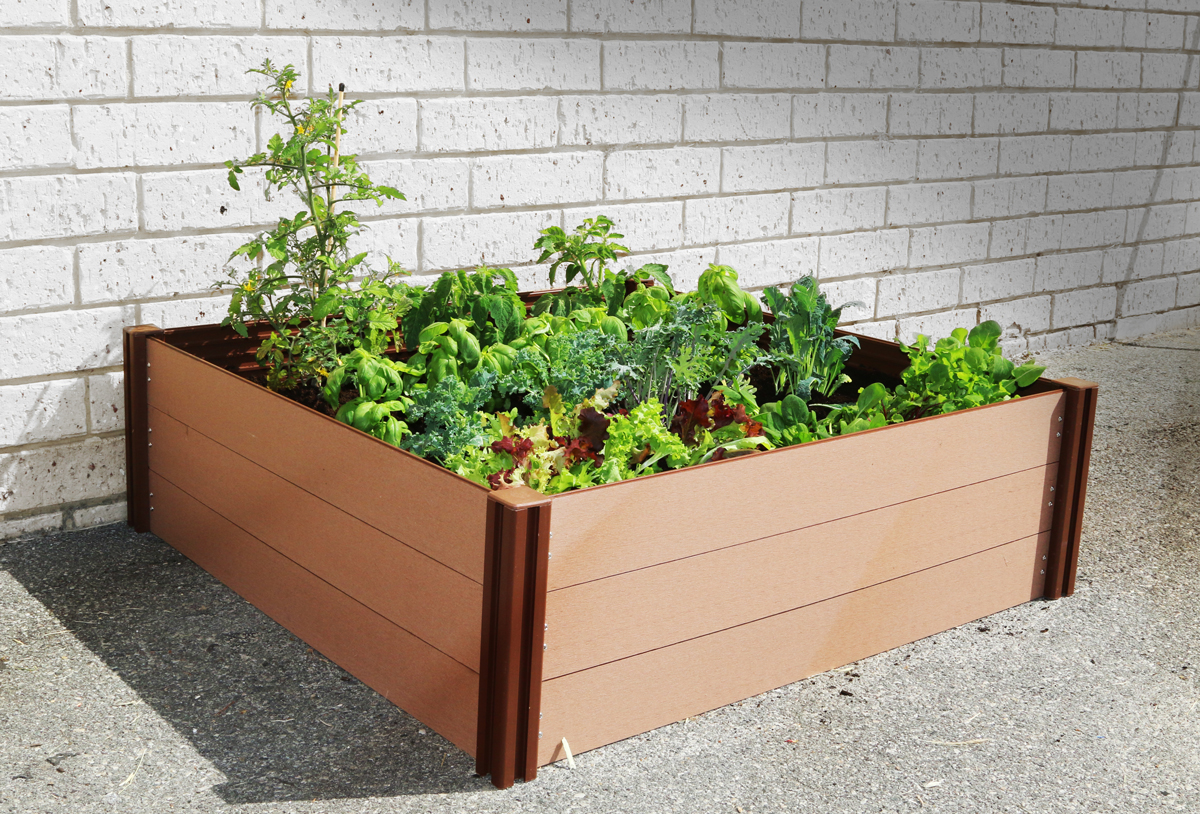
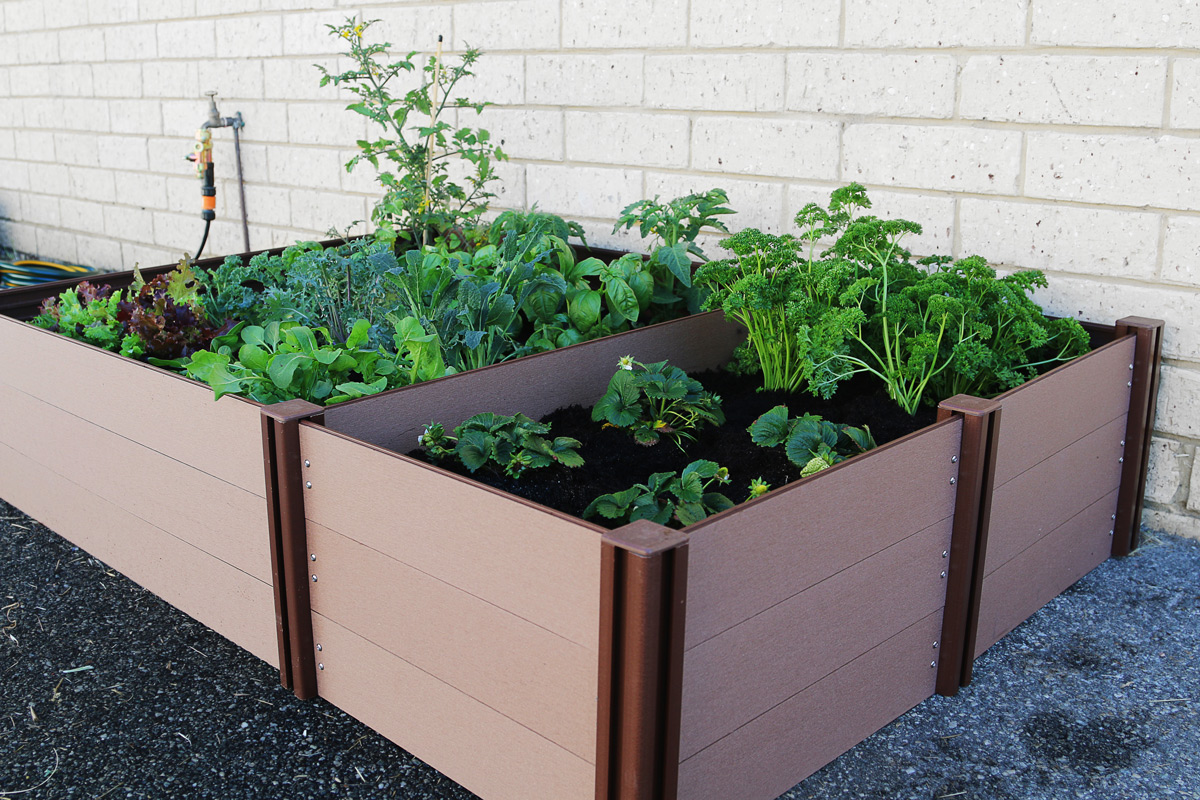
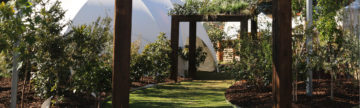
You can build your new Holman Raised Garden Bed almost anywhere. For an easy assemble, set it up on your outdoor patio, on your veranda or simply on pavers or concrete. This is a perfect option if you are renting, as you do not have to modify the existing outdoor space. We chose to build our Raised Garden Bed on concrete to showcase how you can turn a dull lifeless space into a living and vibrant garden feature.
HOW TO BUILD HOLMAN RAISED GARDEN BED
- The plants you are growing should decide your location. If your plants need high sun exposure then place your raised garden bed in a location that receives the most sun.
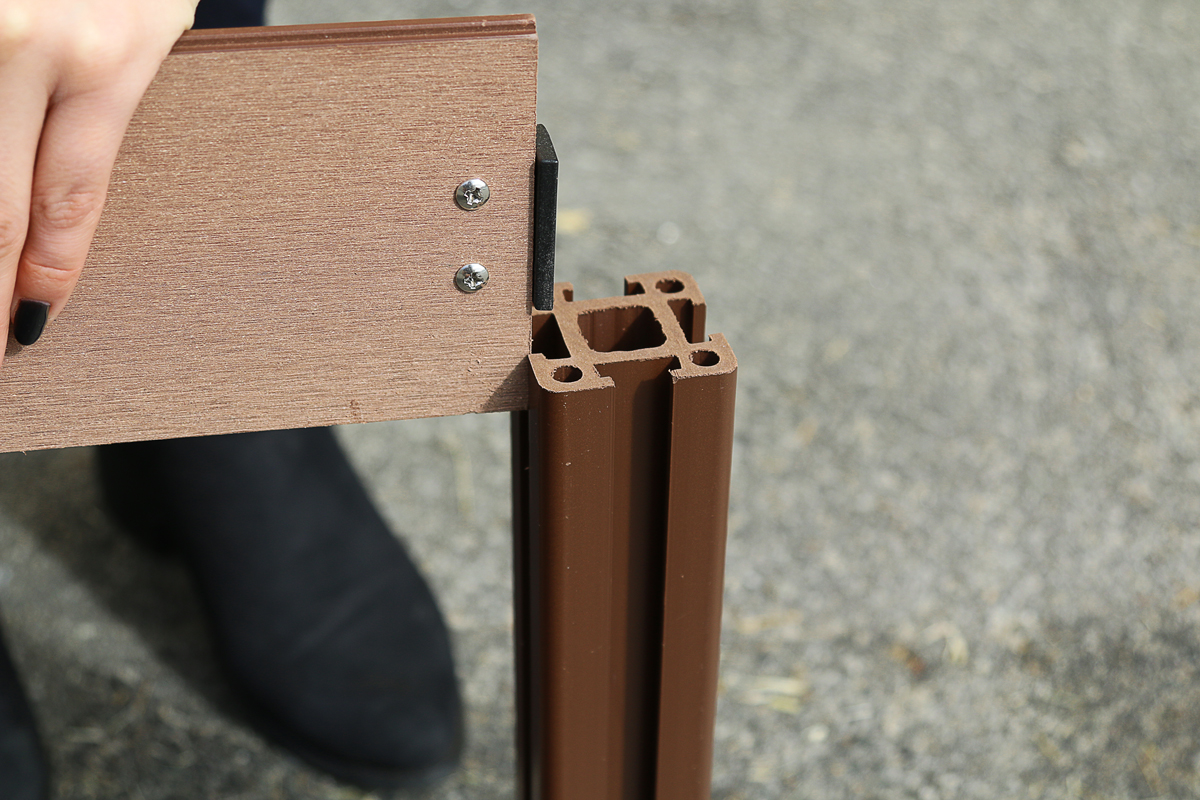
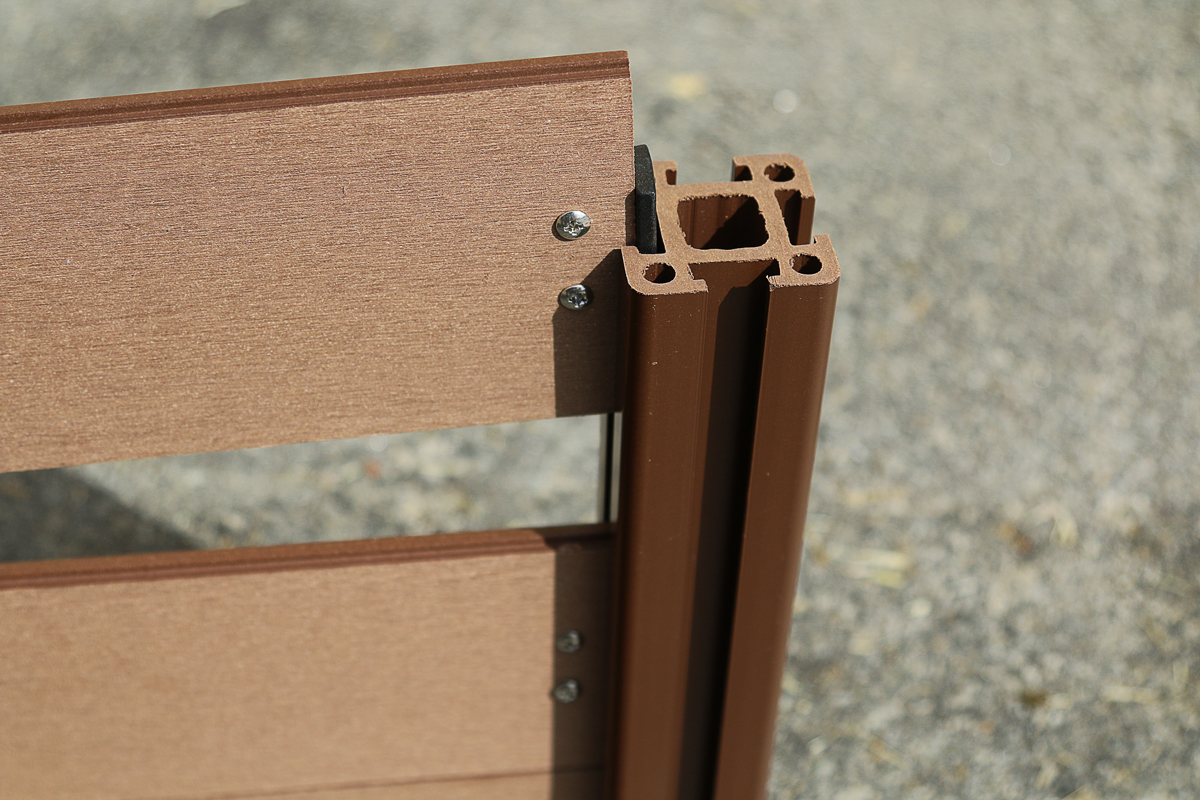
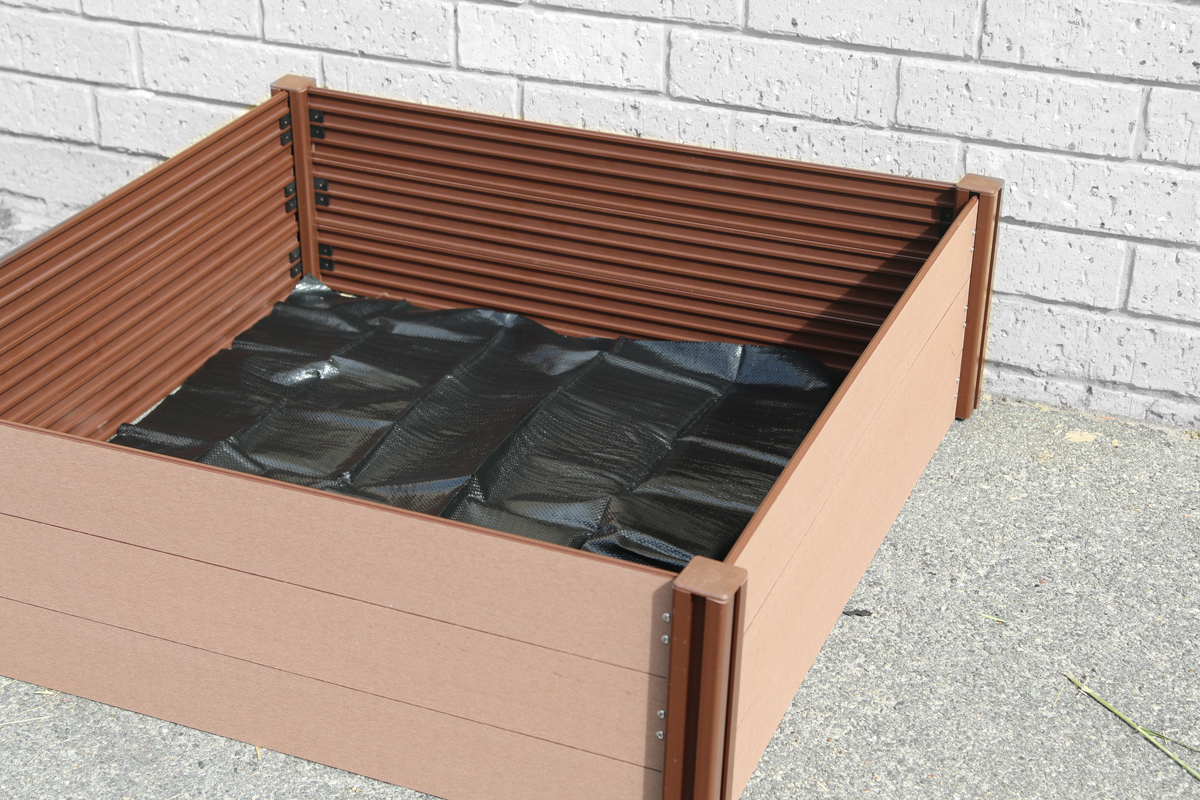
- Lay out all the contents and start with the wood composite panels. Slot the side panels in the upright posts. Face up the tongue of the panels so that they connect with the bottom groove.
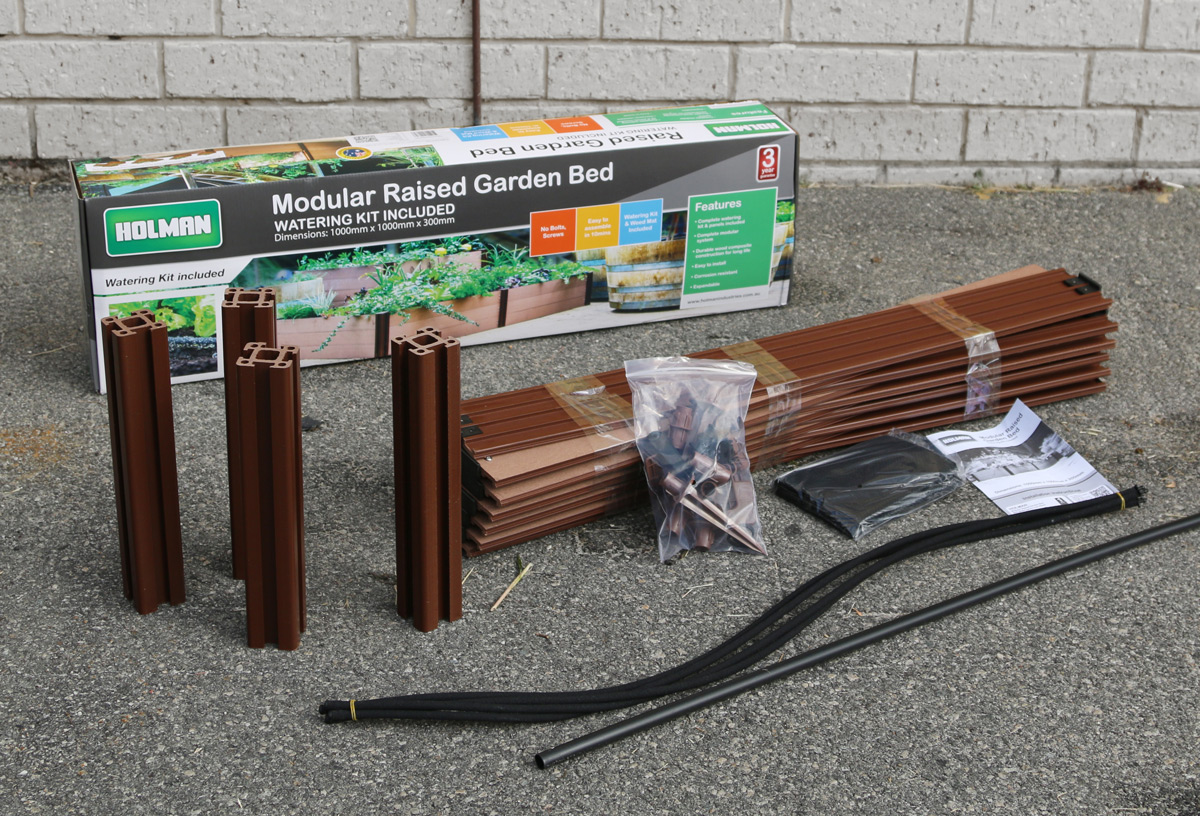
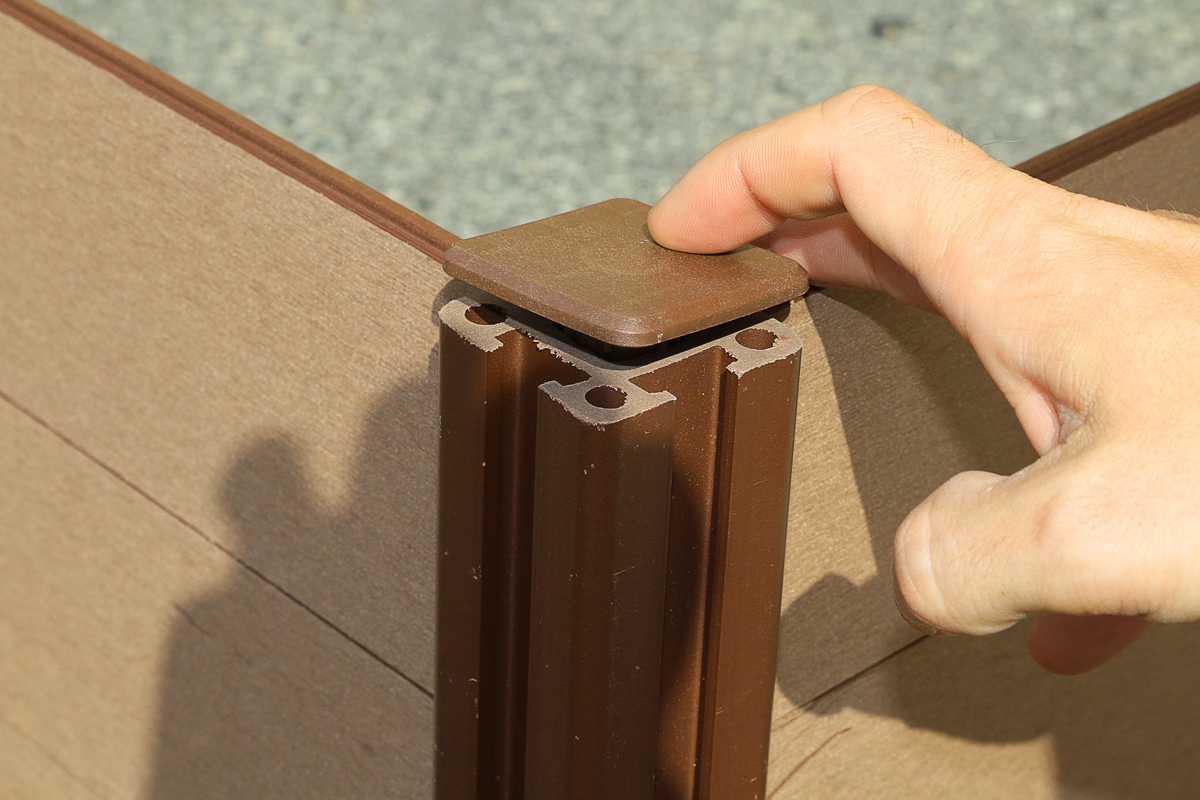
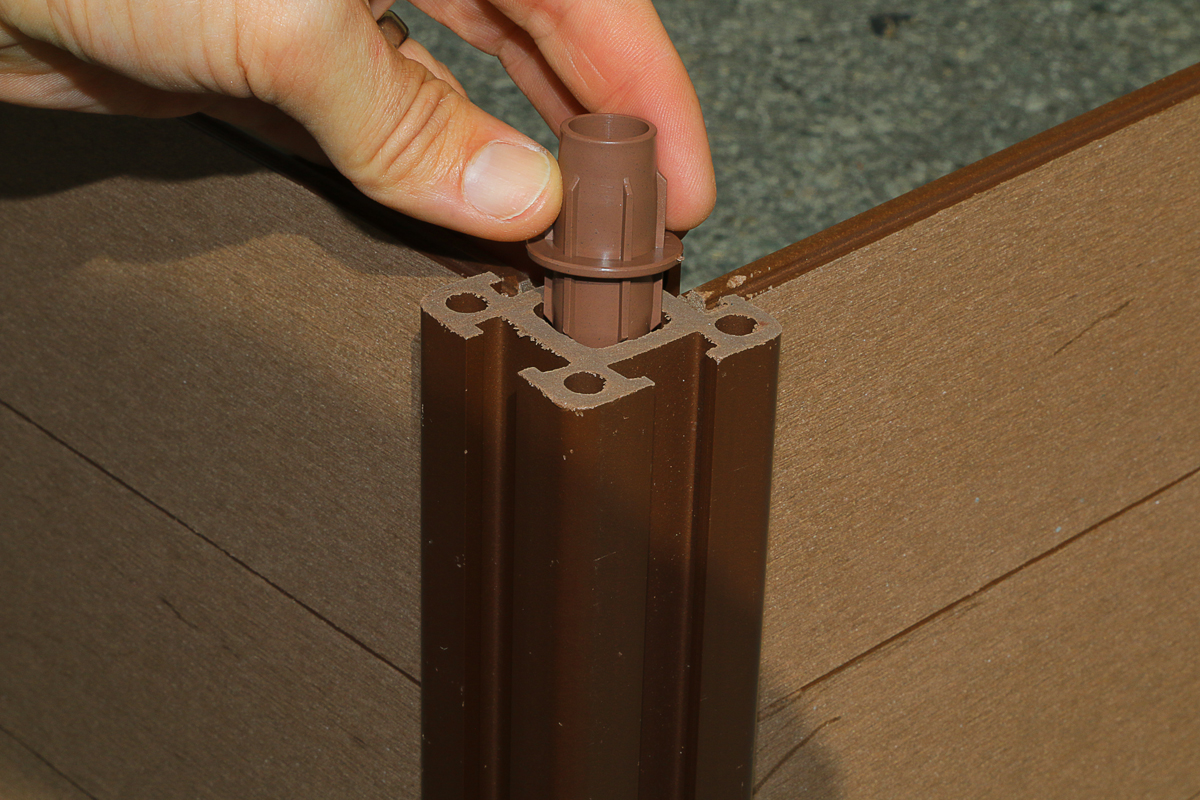
- Install the caps on top of the poles
- Lay down the weed mat on the bottom of the raised garden bed. As we are growing over concrete we have chosen this method to avoid staining the concrete if the garden bed is moved.
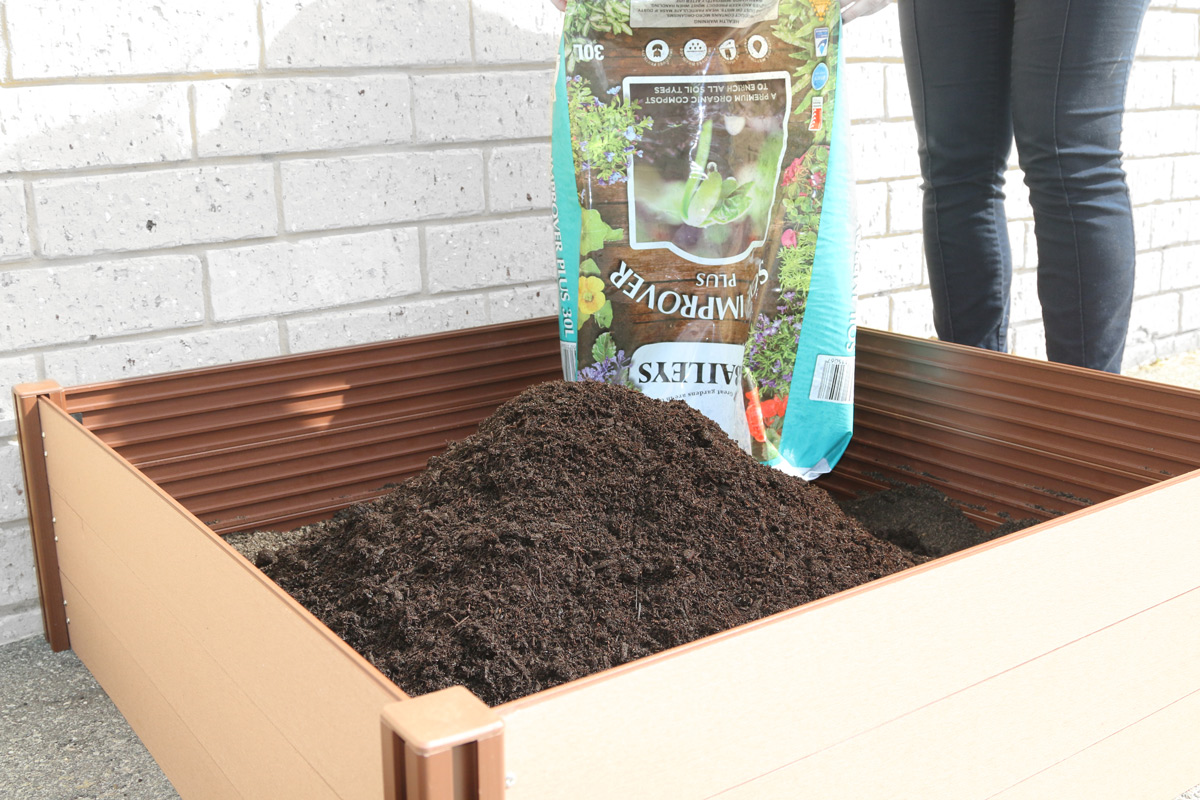
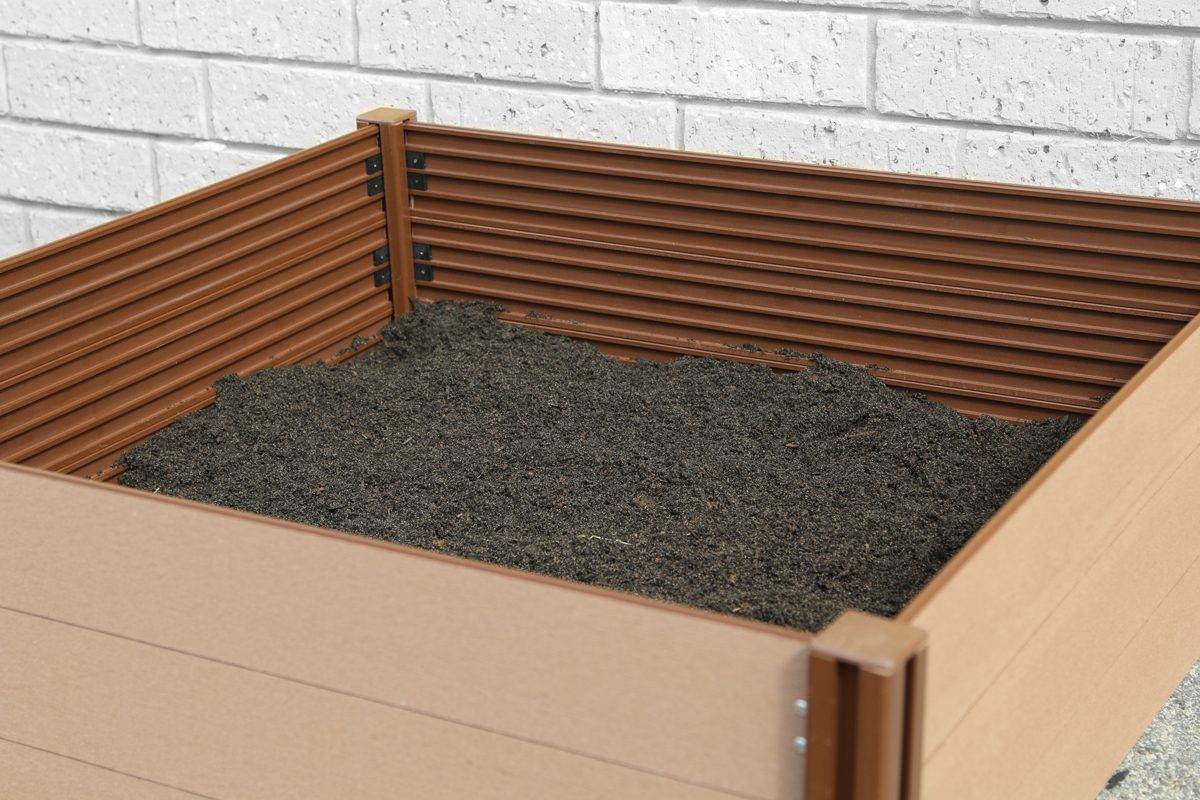
- Fill the panel with soil and leave roughly 50mm at the top. One raised garden bed can take up to 12 bags (25L)

To extend your Raised Garden Bed horizontally simply slide another panel into the existing module. To extend vertically attach the pole joiners to the existing garden bed.
WHAT SOIL TO USE
The top 200ml of the Raised Garden Bed is the most important and requires a really good soil, we suggest a combination of an open draining potting mix and a soil improver. This will give your garden bed a loose nutrient rich soil that is perfect for your plant roots to spread out and grow. Top the last 20mm with Lupin Mulch to achieve the best results.
SOIL WE USED
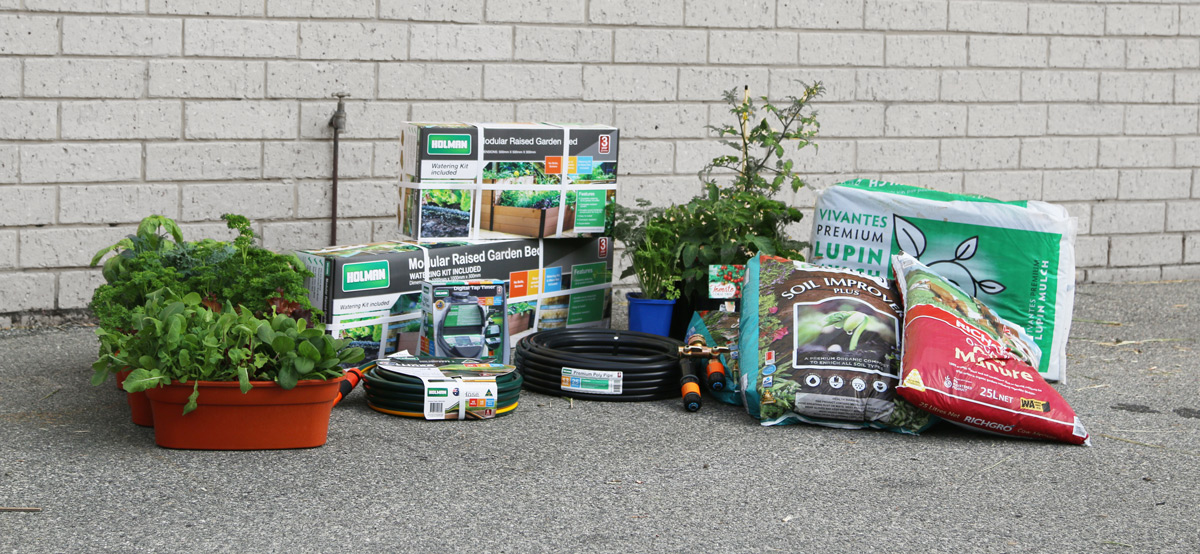
- To fill the 1x1m garden bed we used:
- 6x 20L Potting Mix (Available at Bunnings $2.60)
- 2x 30L Soil Improver plus fertiliser (Available at Bunnings $7.90)
- 1x 25L organic cow manure (Available at Bunnings $6.68)
- 1x 45L Lupin Mulch (Available at Bunnings $15.35)
- To fill the extended garden bed 0.5mx1m we used:
- 3x 20L Potting Mix
- 1x 30L Soil Improver plus fertiliser
- 1x 25L organic cow manure
- 1x 45L Lupin Mulch
*Images do not contain Lupin Mulch.
PLANTS
Plants we used
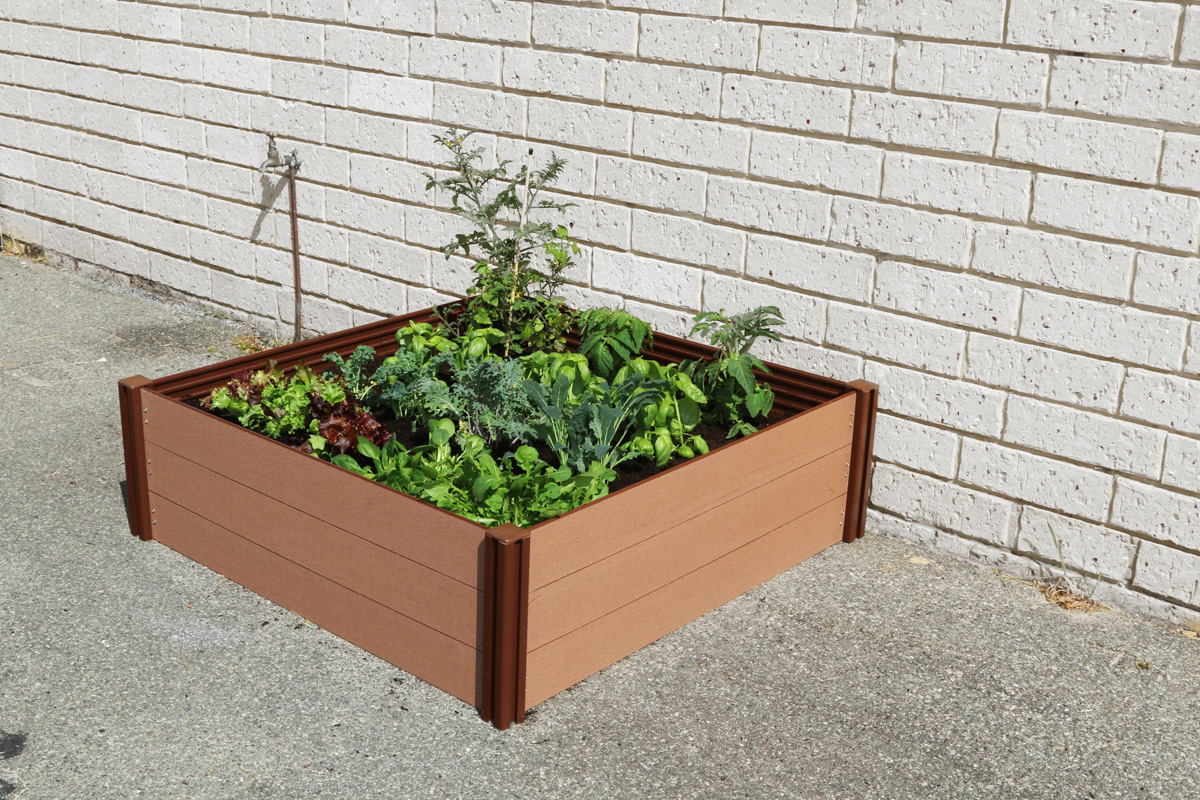
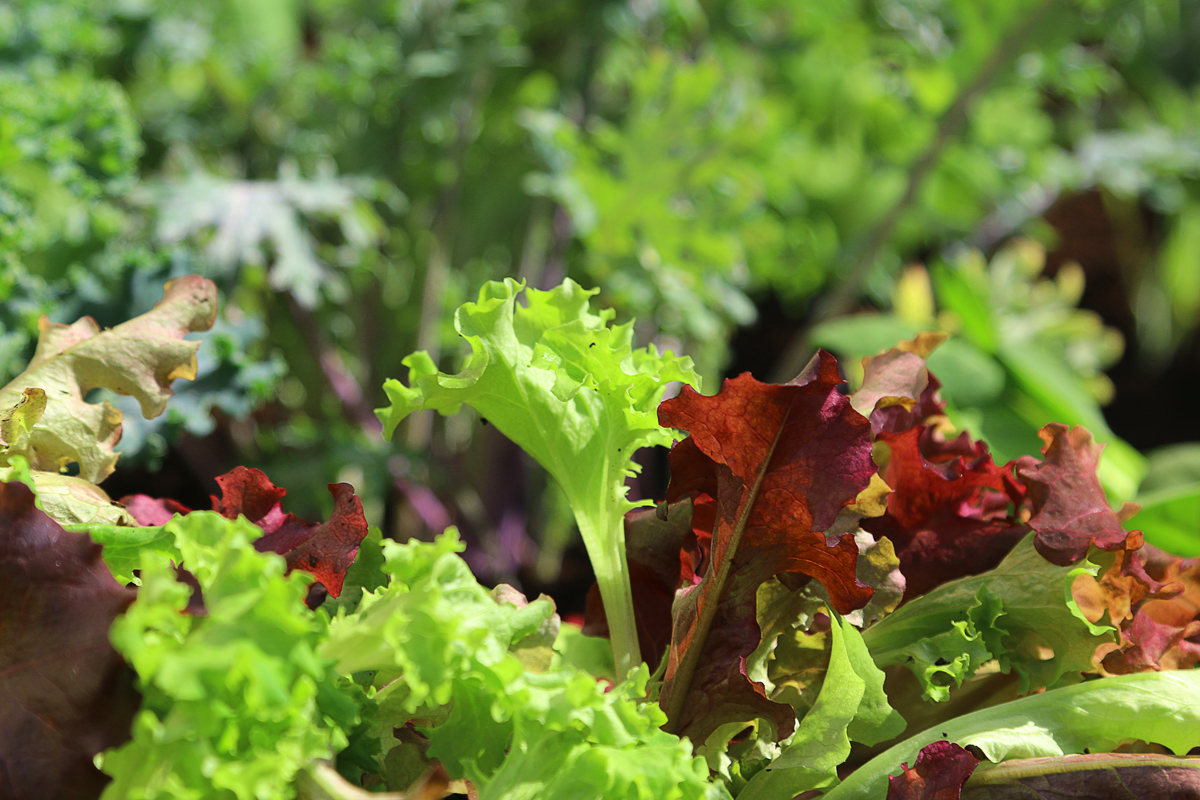
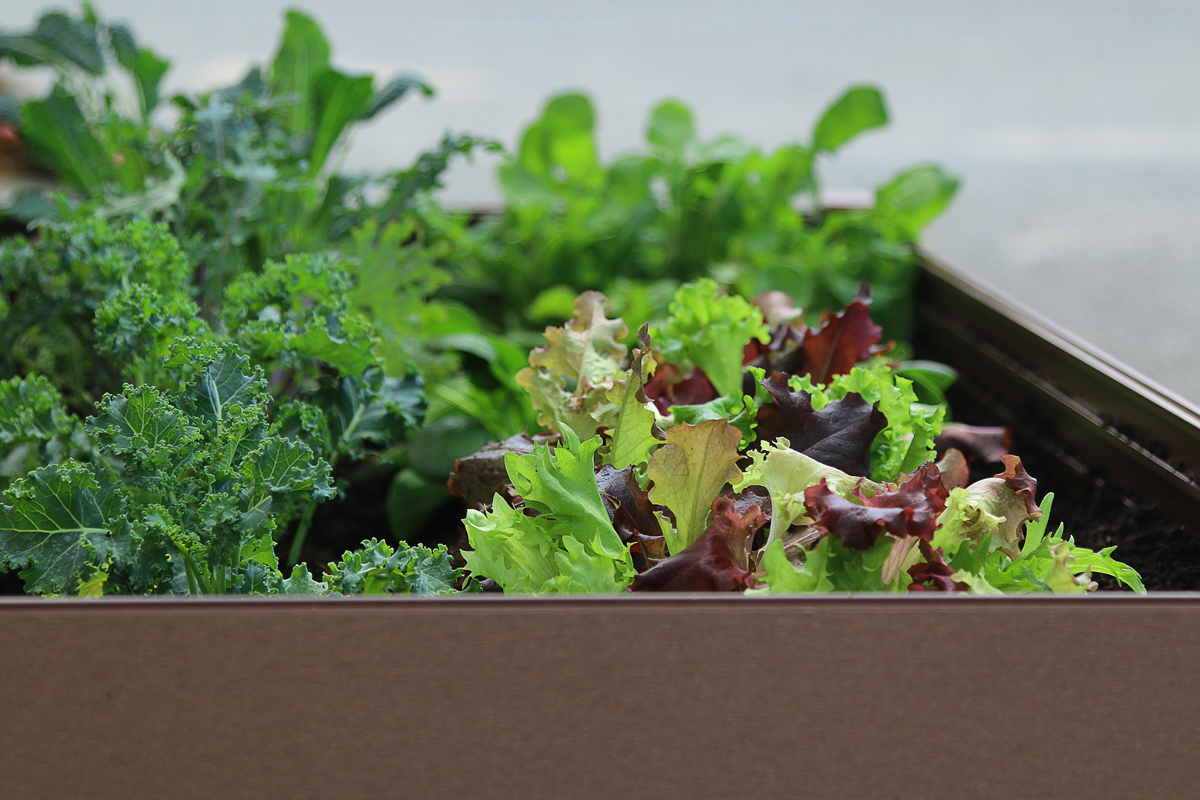
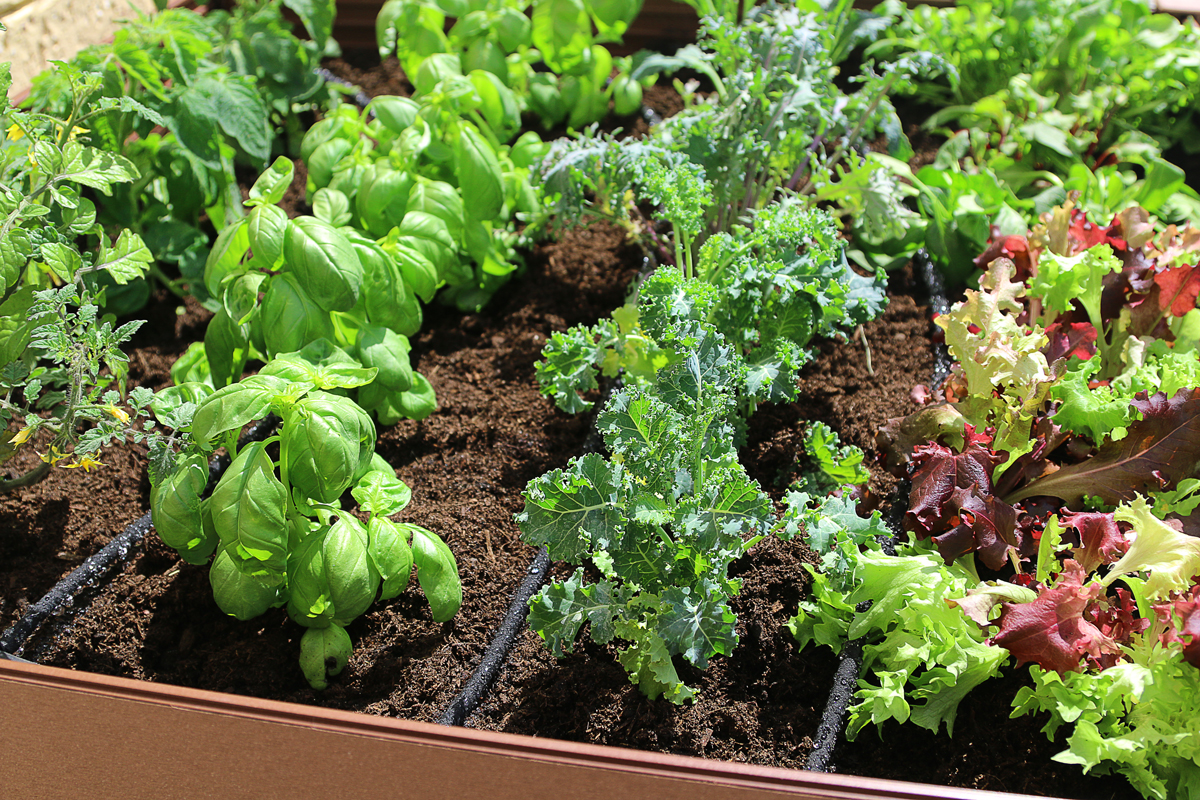
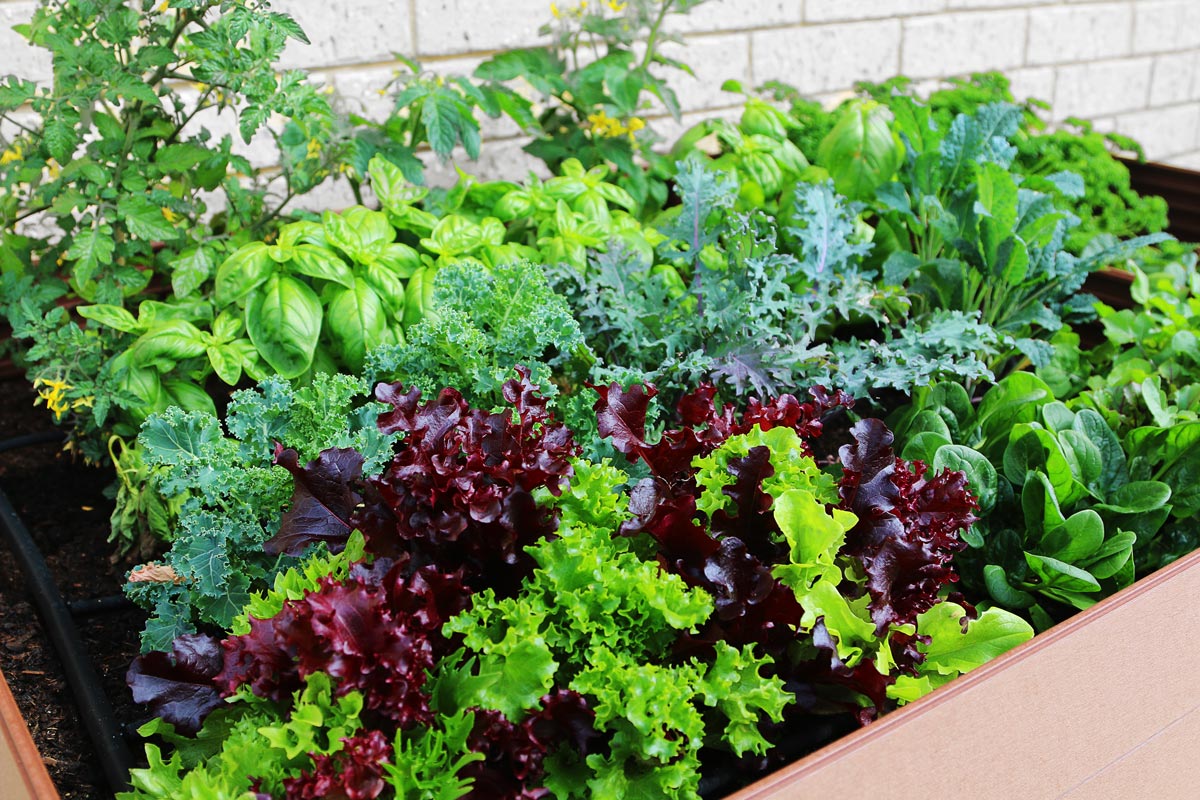
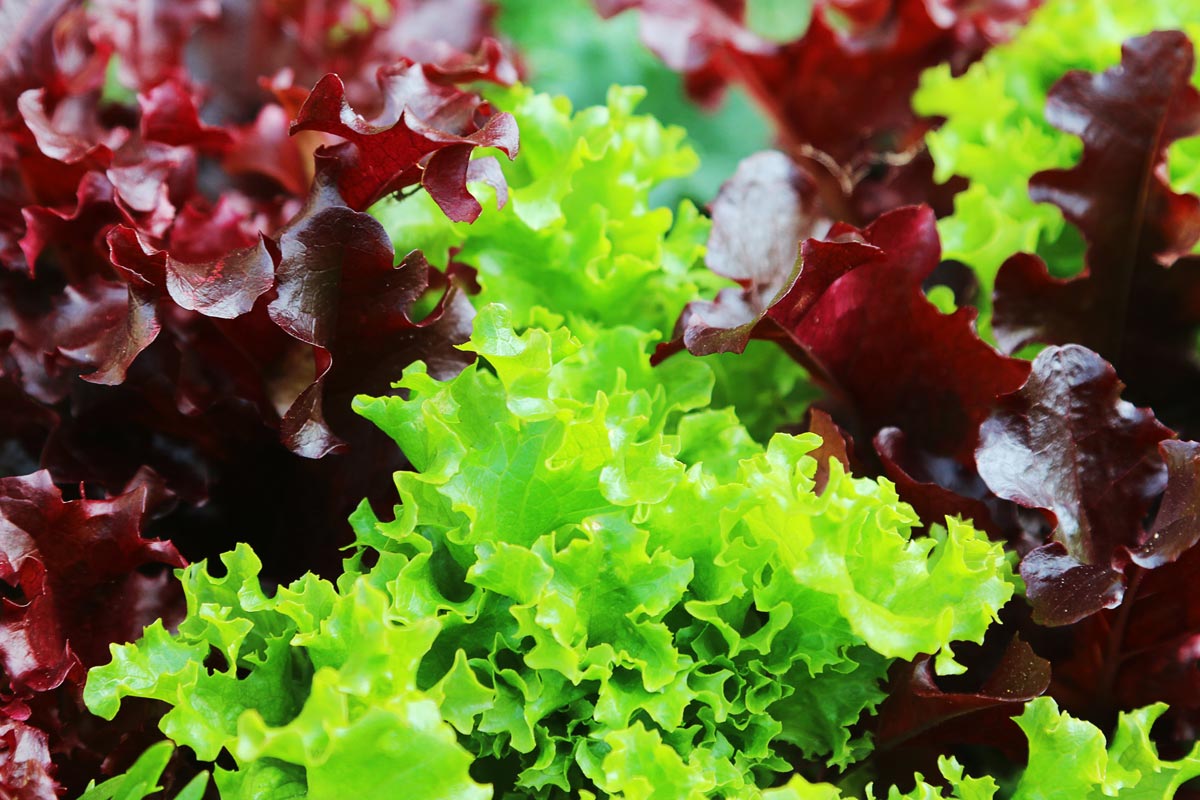
Our inspiration was to grow a salad garden that can be harvested in time to enjoy on a hot summers day.
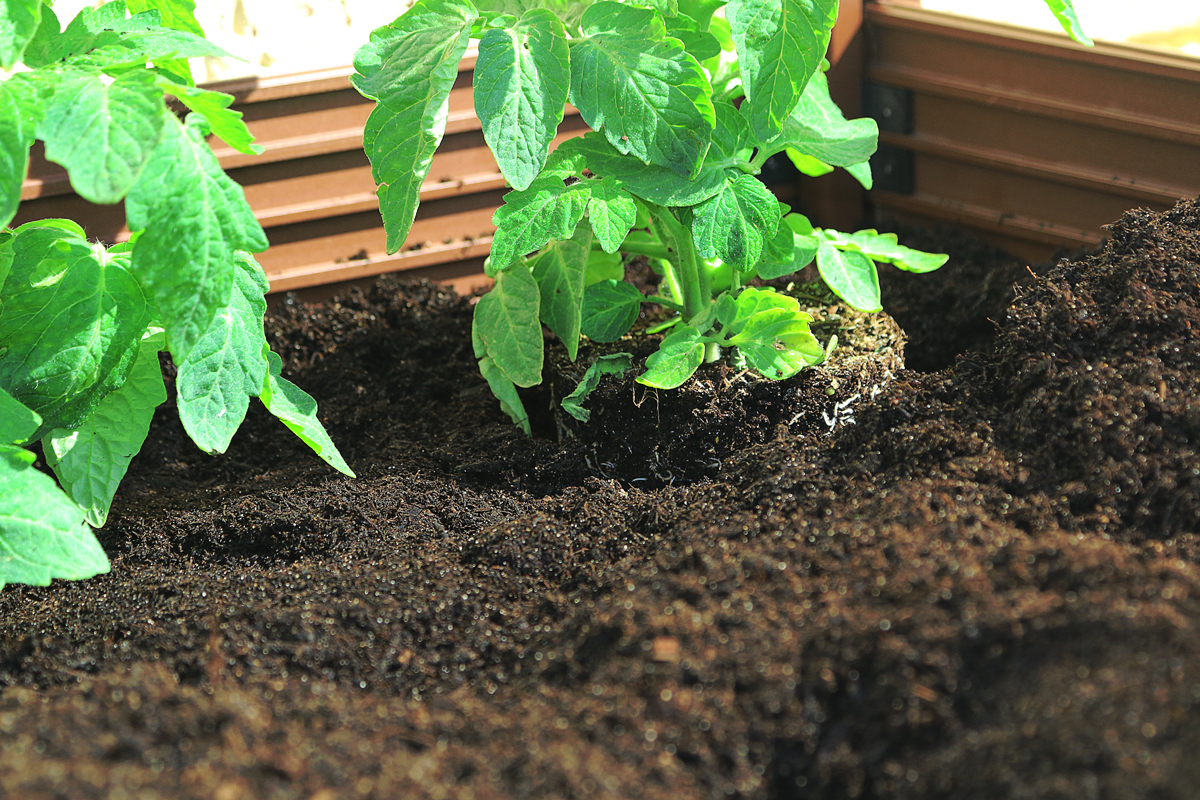
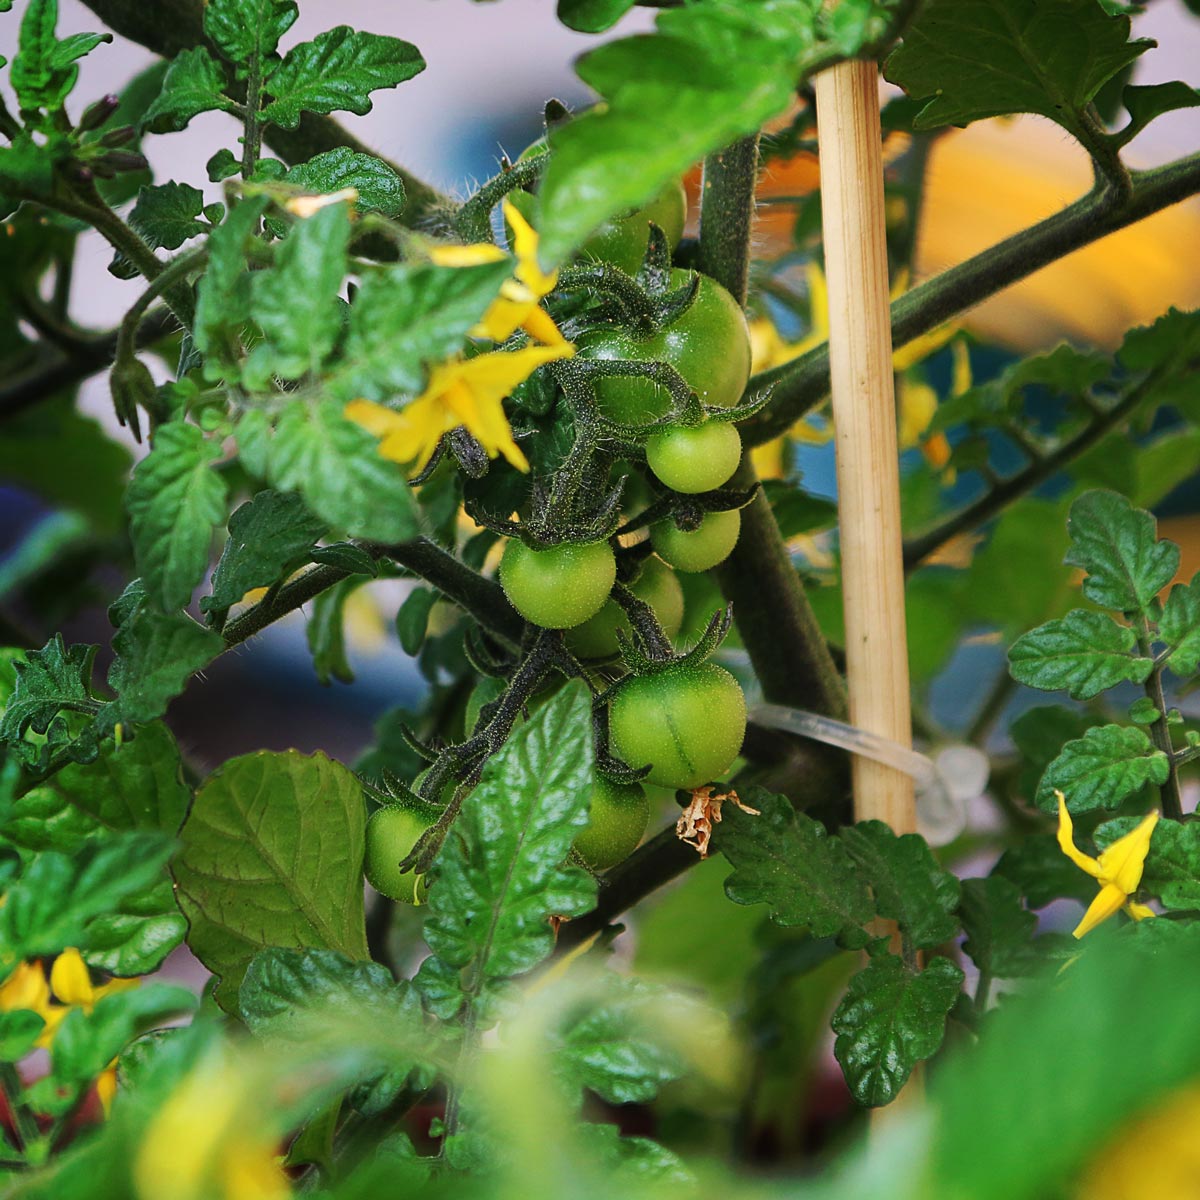
In our 1mx1m garden bed, we planted tomatoes, basil, kale, lettuce, spinach, cucumbers and spring onion. In our 0.5mx1m garden bed, we planted parsley and strawberries.

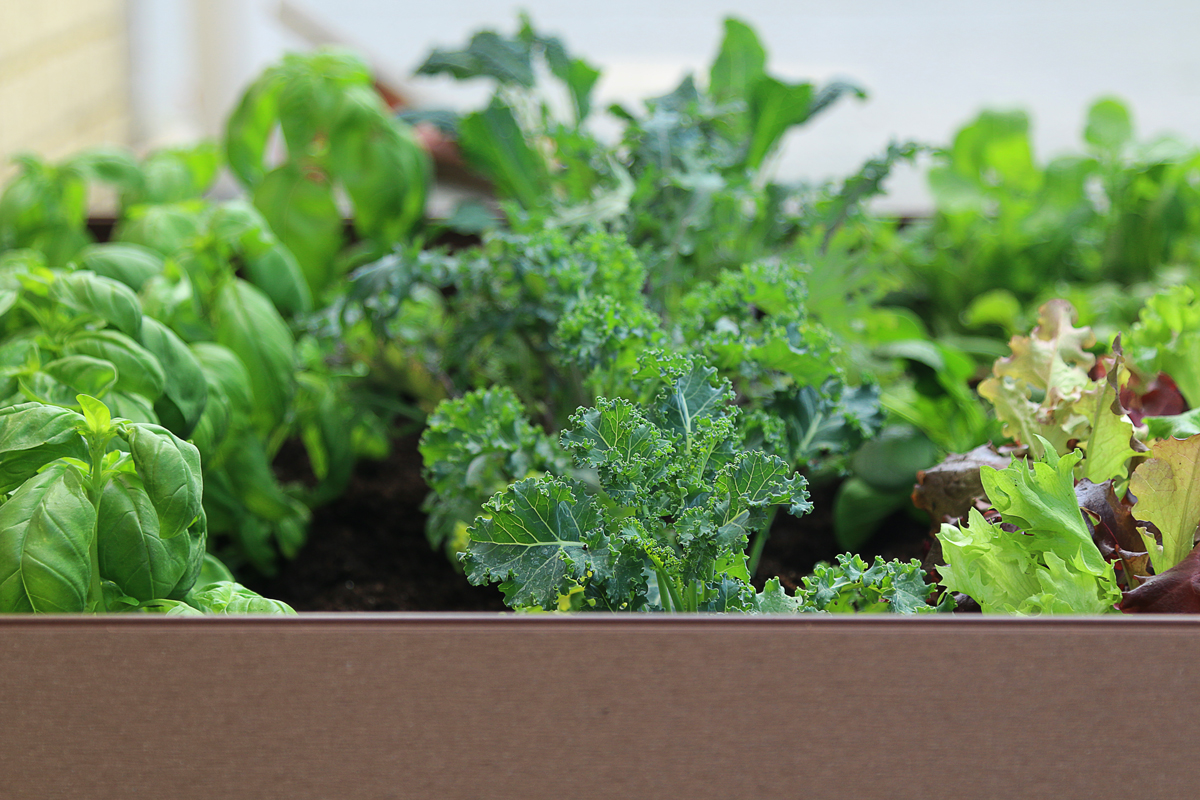
 Tomato and basil are known to be a great plant companion. Not only are they perfect to eat together but also benefit each other while growing.
The basil protects the tomato plants by repelling whiteflies, mites and spiders. Basil flowers promote bees, which improves pollination. This increases the tomatoes overall health.
WATERING
HOW TO SET UP THE IRRIGATION SYSTEM
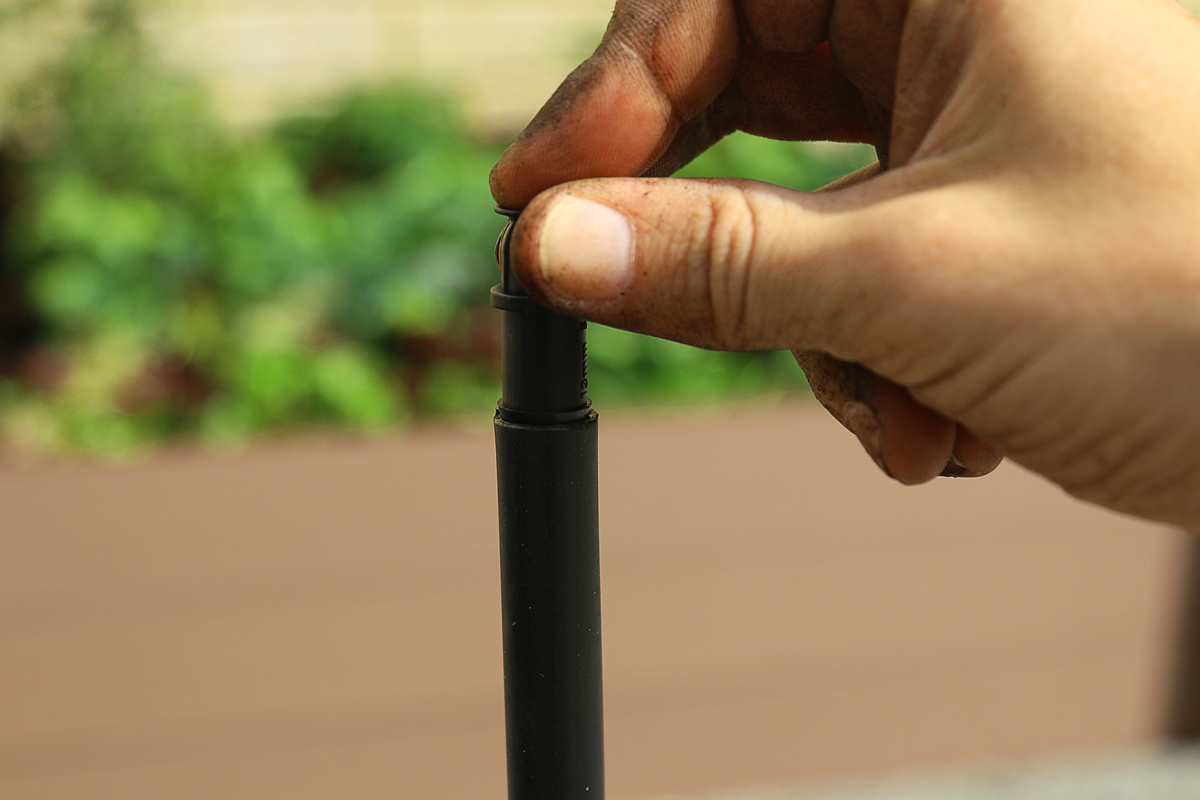
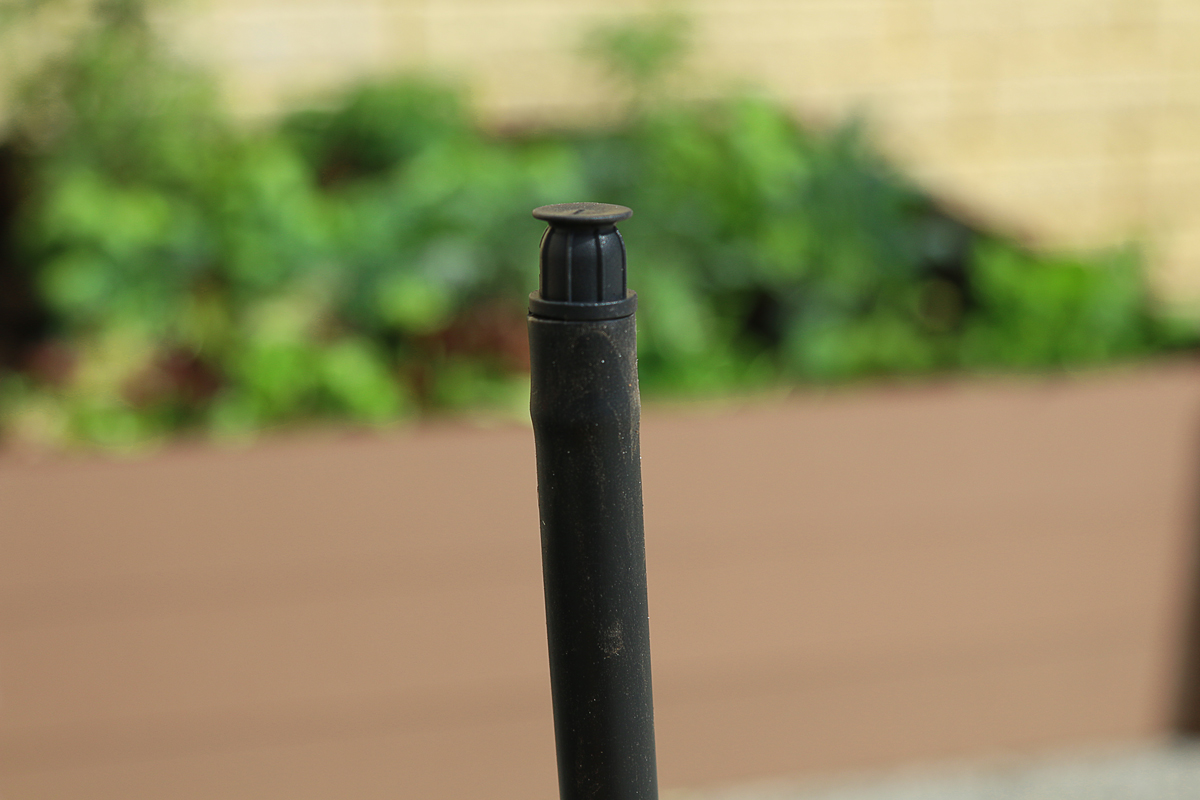
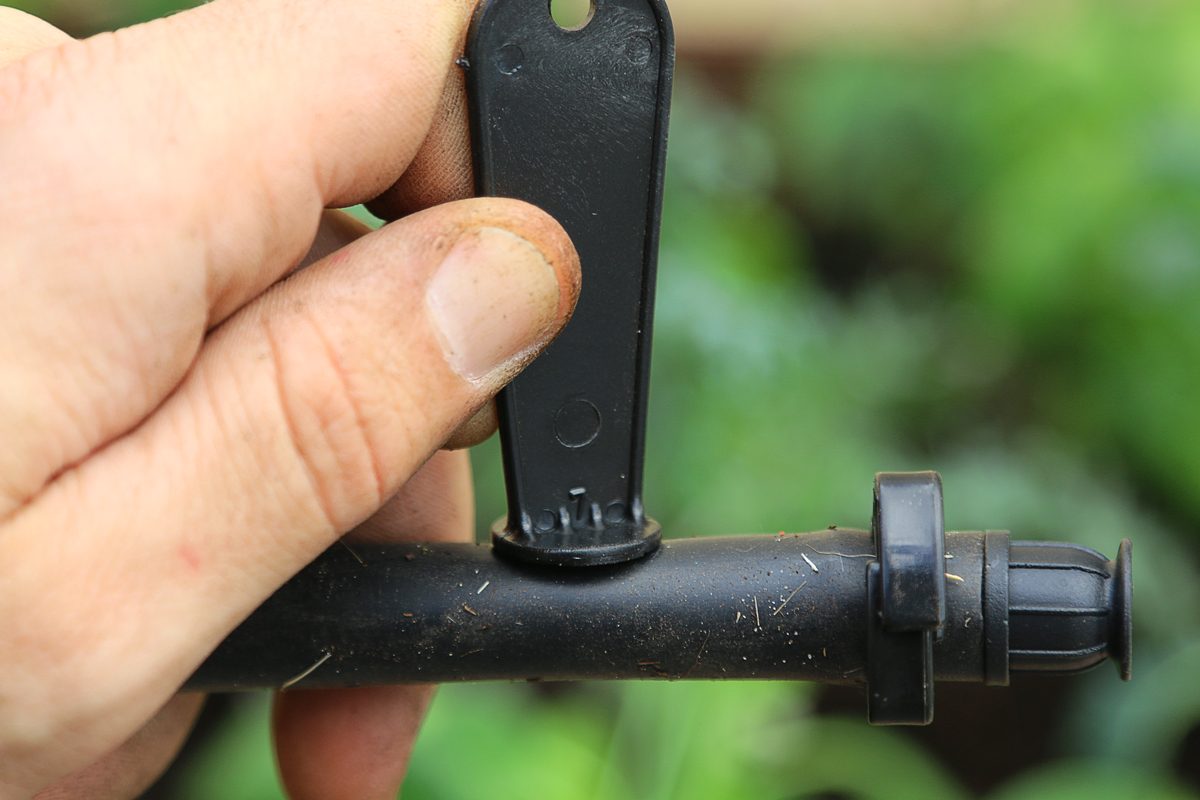
- Attach the end plug to the 13mm poly pipe
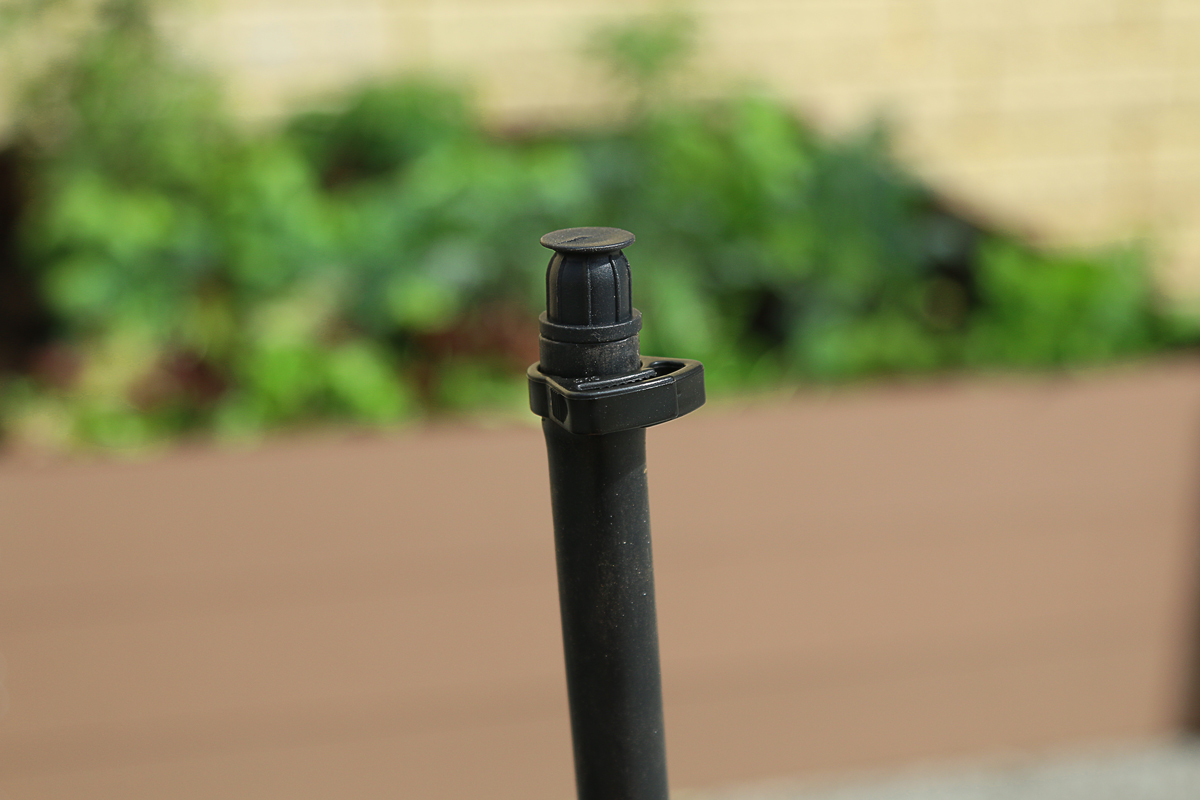
- Attach the ratchet clamp to the end plug.
Attach the hose connector to the other end of the 13mm poly pipe and attach a ratchet clamp to the hose connector.
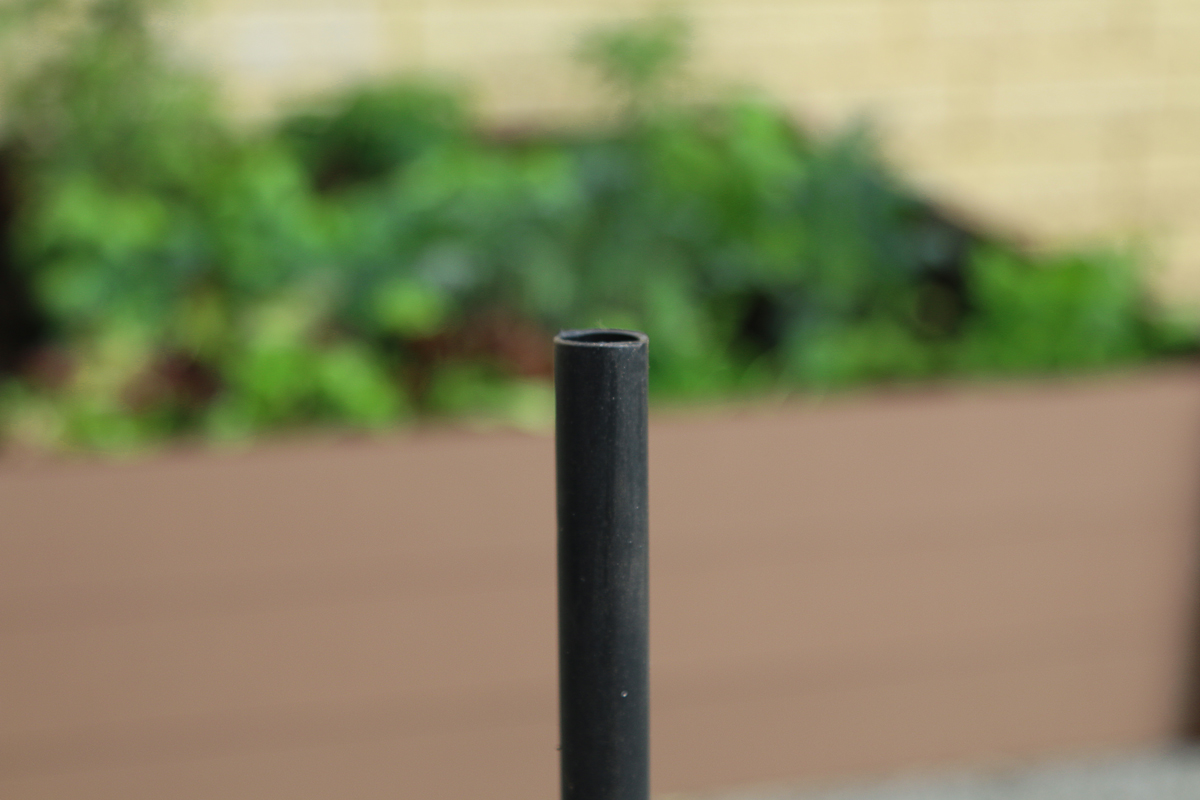

- Lay the 13mm poly pipe across the garden bed with the hose connector closest to the tap.
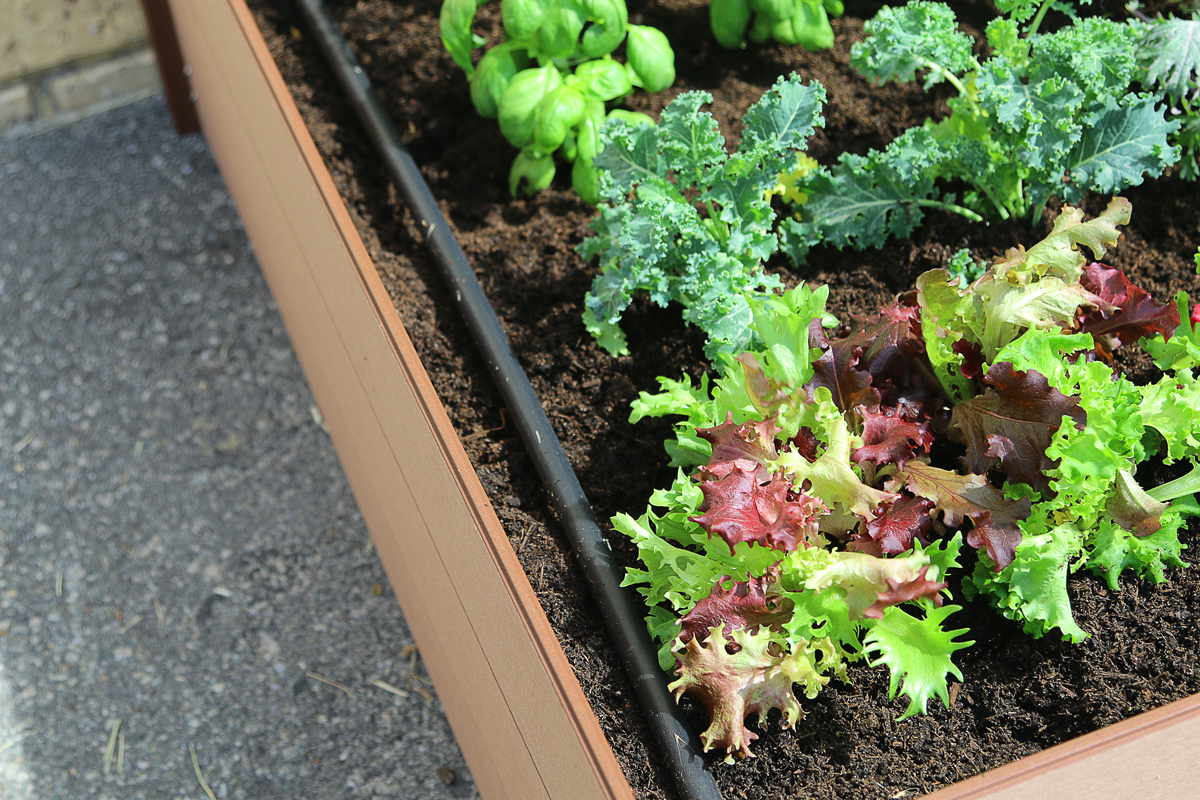
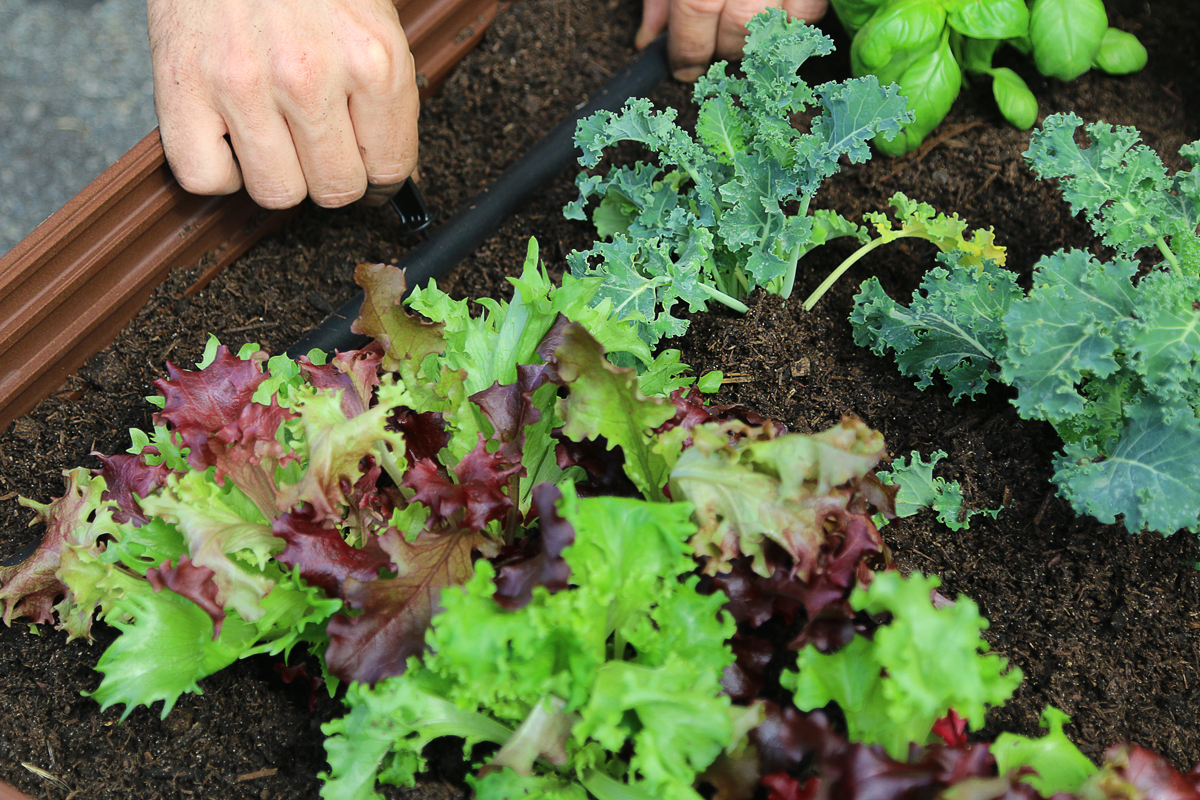
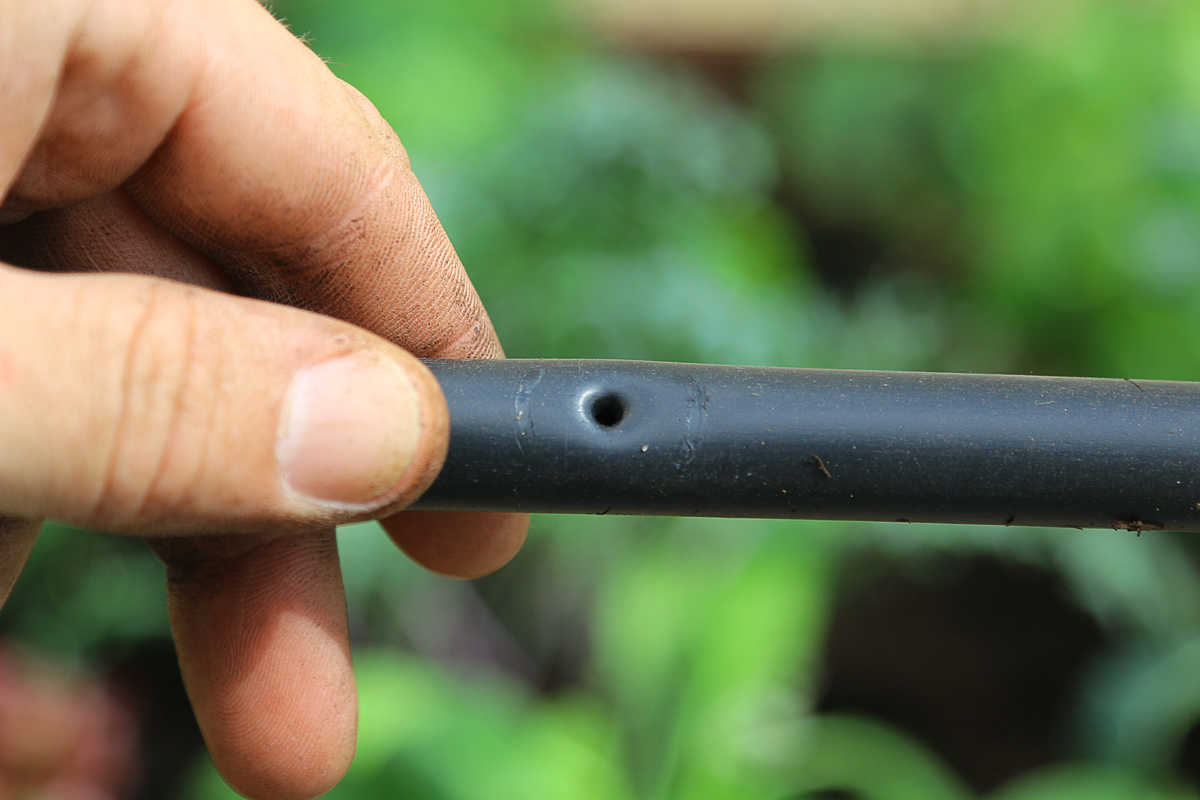
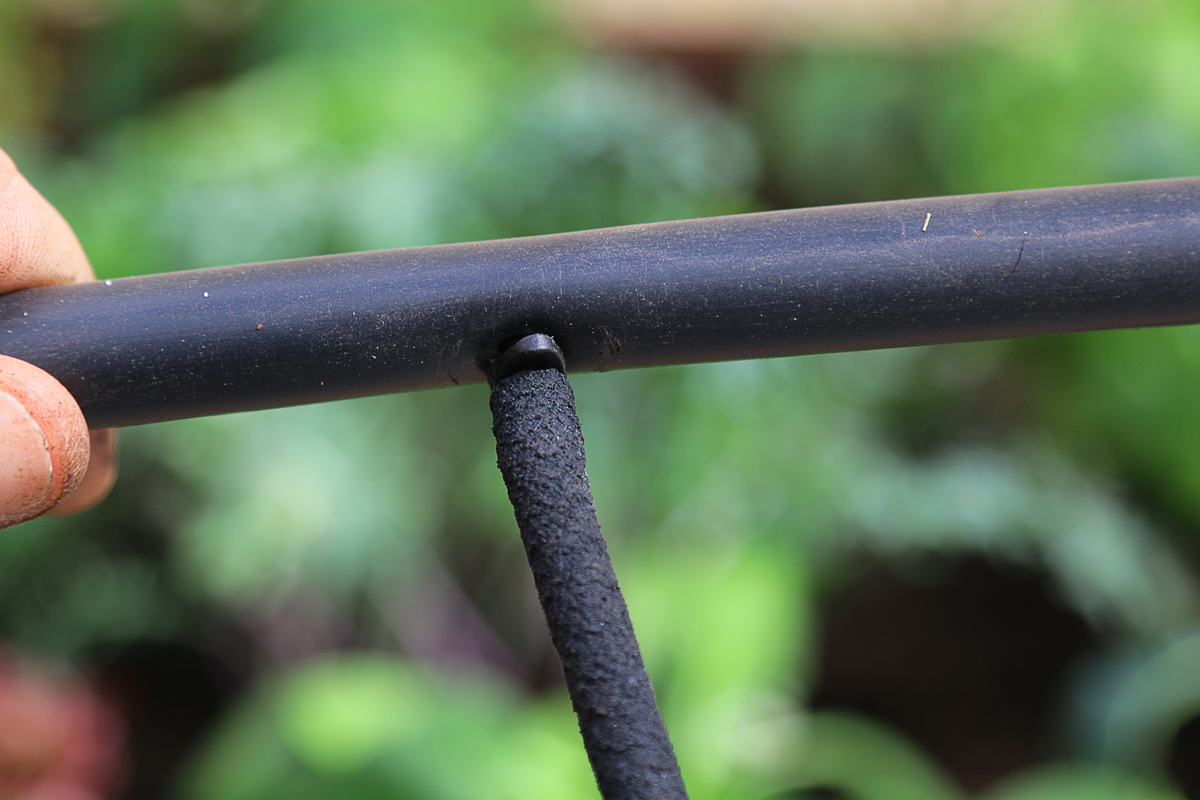
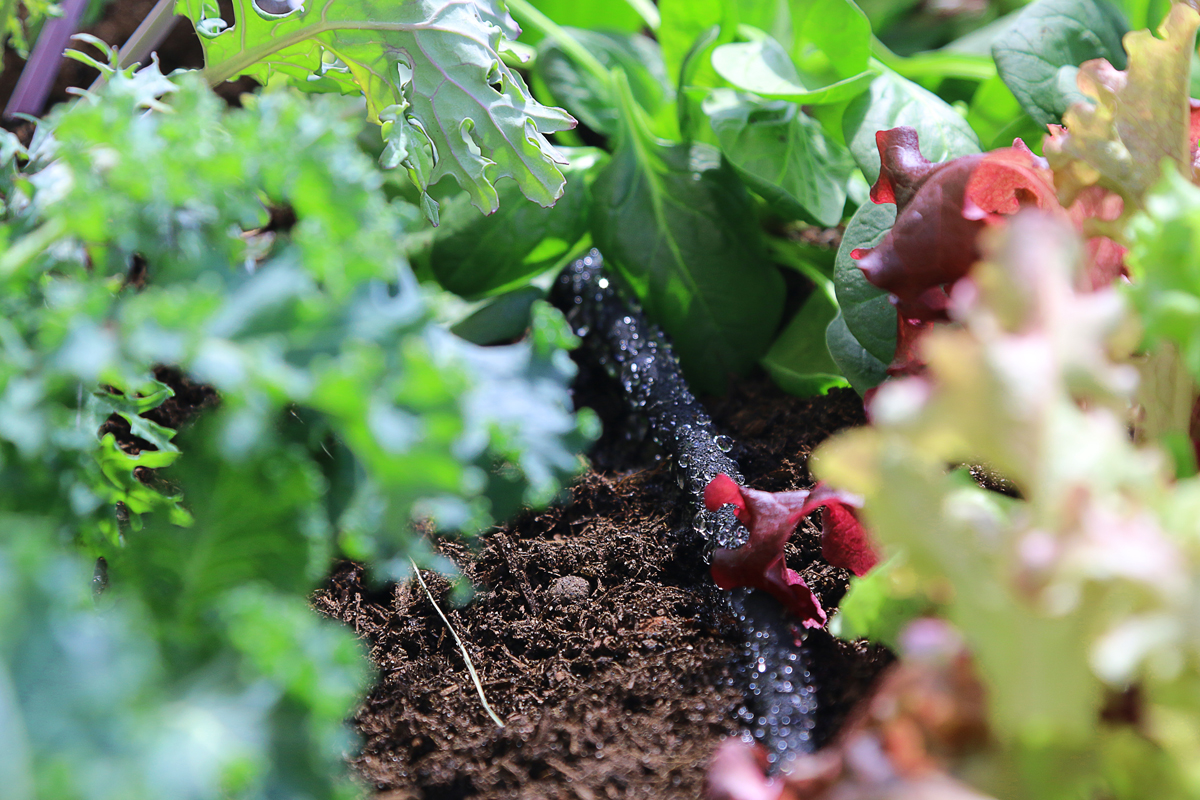
- Line up the poly pipe with the garden rows and pierce a hole in line with each row.
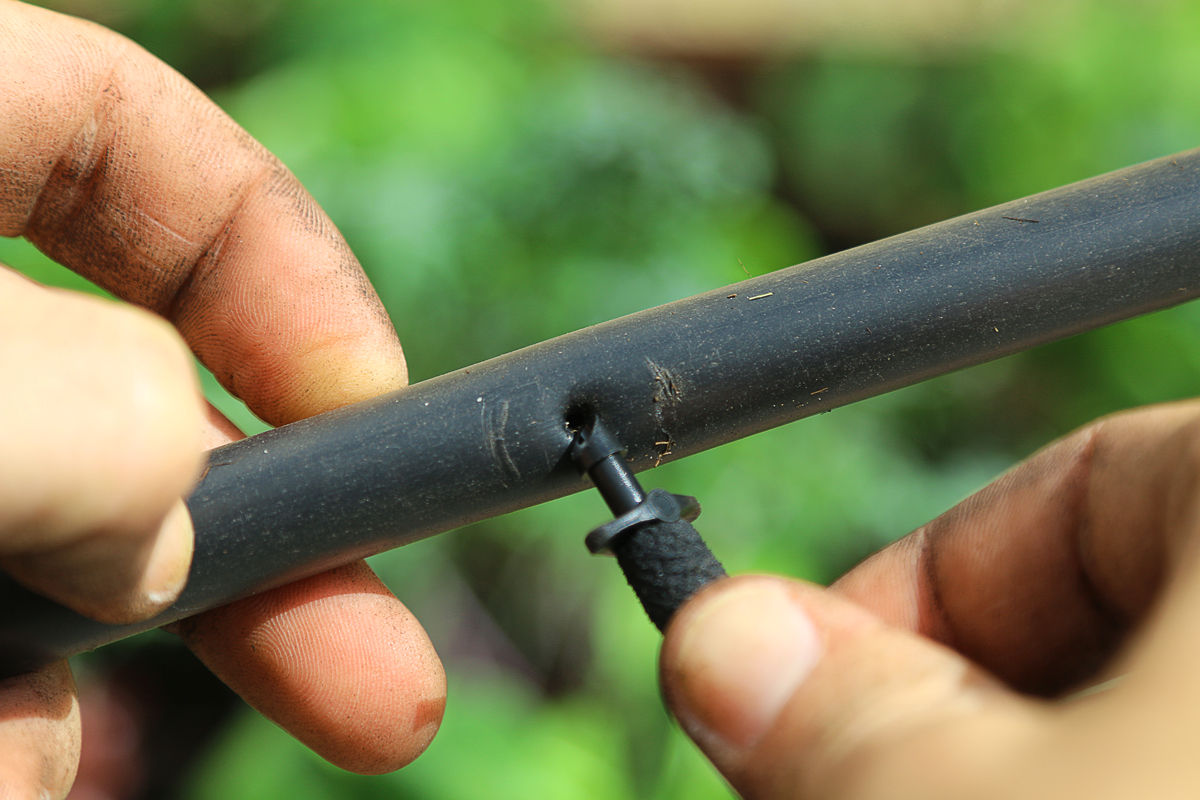
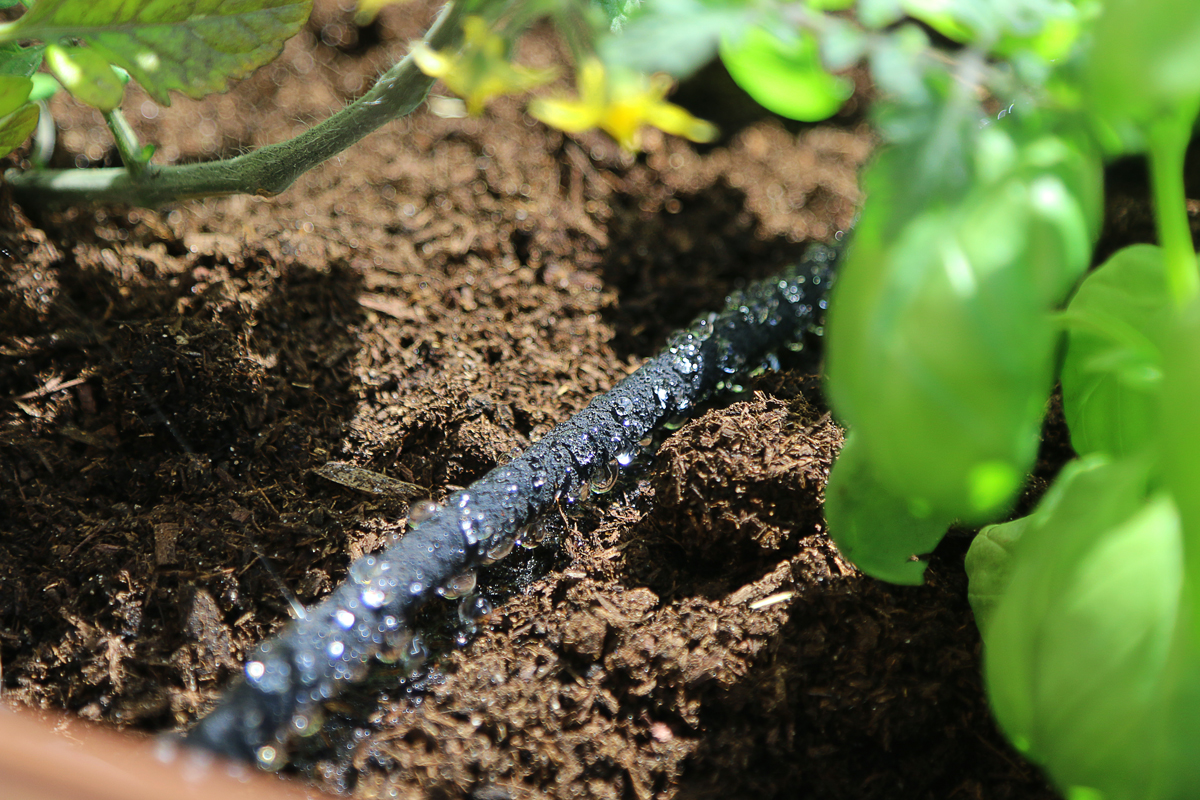
- Insert the dripping tube into each pierced hole then run the dripping tube along each garden row.
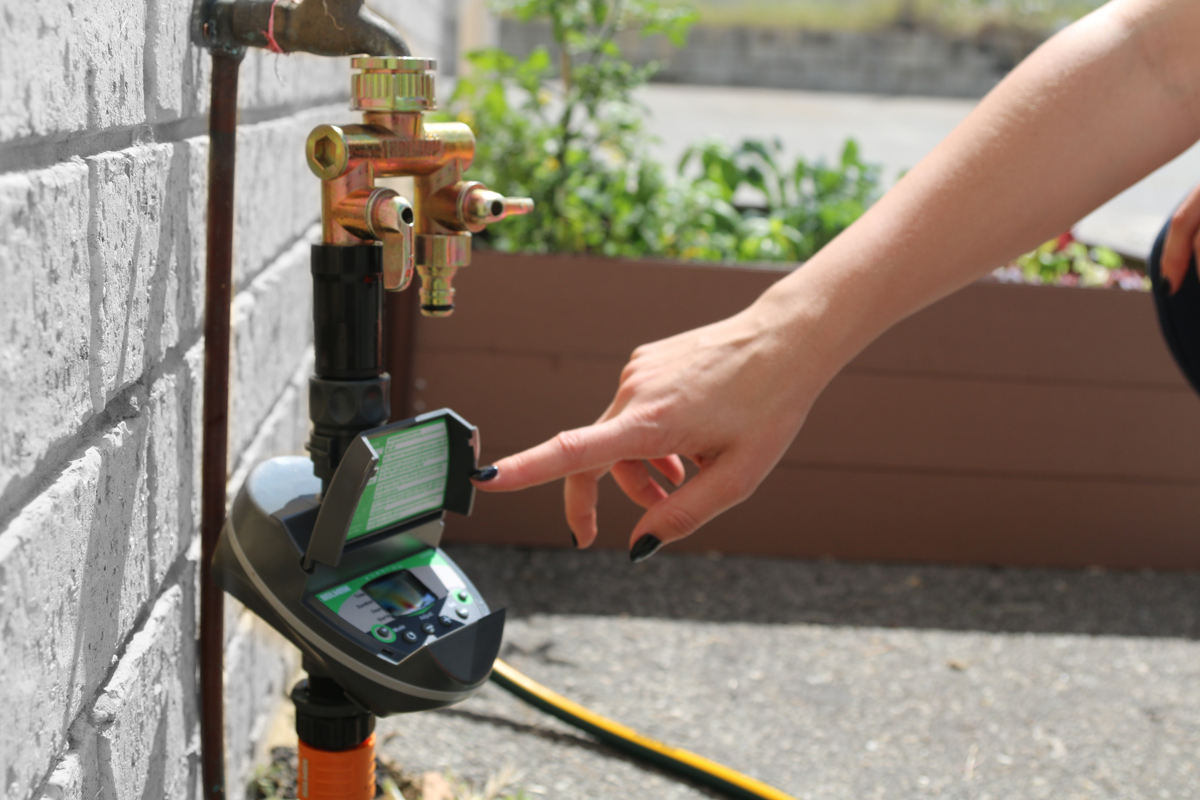
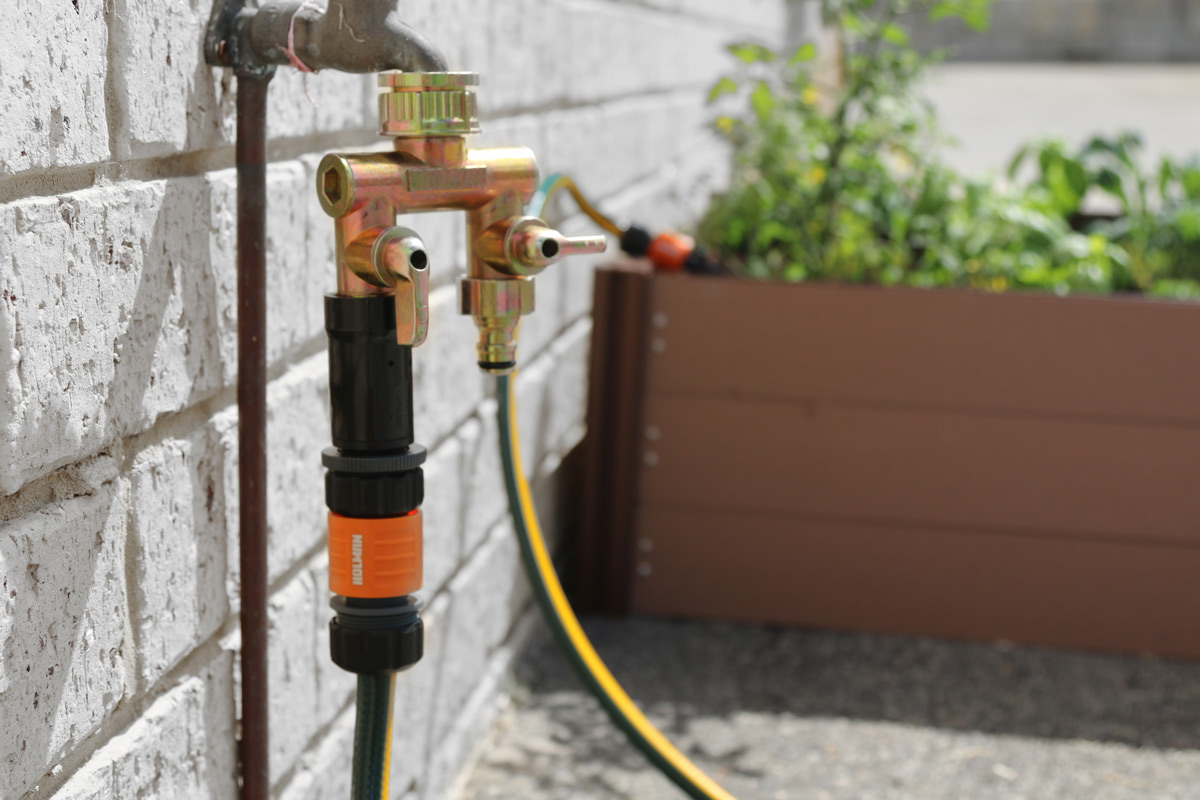
- We suggest connecting the irrigation system of the Raised Garden Bed to a Holman Poly Pipe or a Holman OzHose. Run the Poly Pipe or OzHose to a Holman Digital Tap Timer. This will provide your garden bed with regular automatic watering.
WATERING SCHEDULE
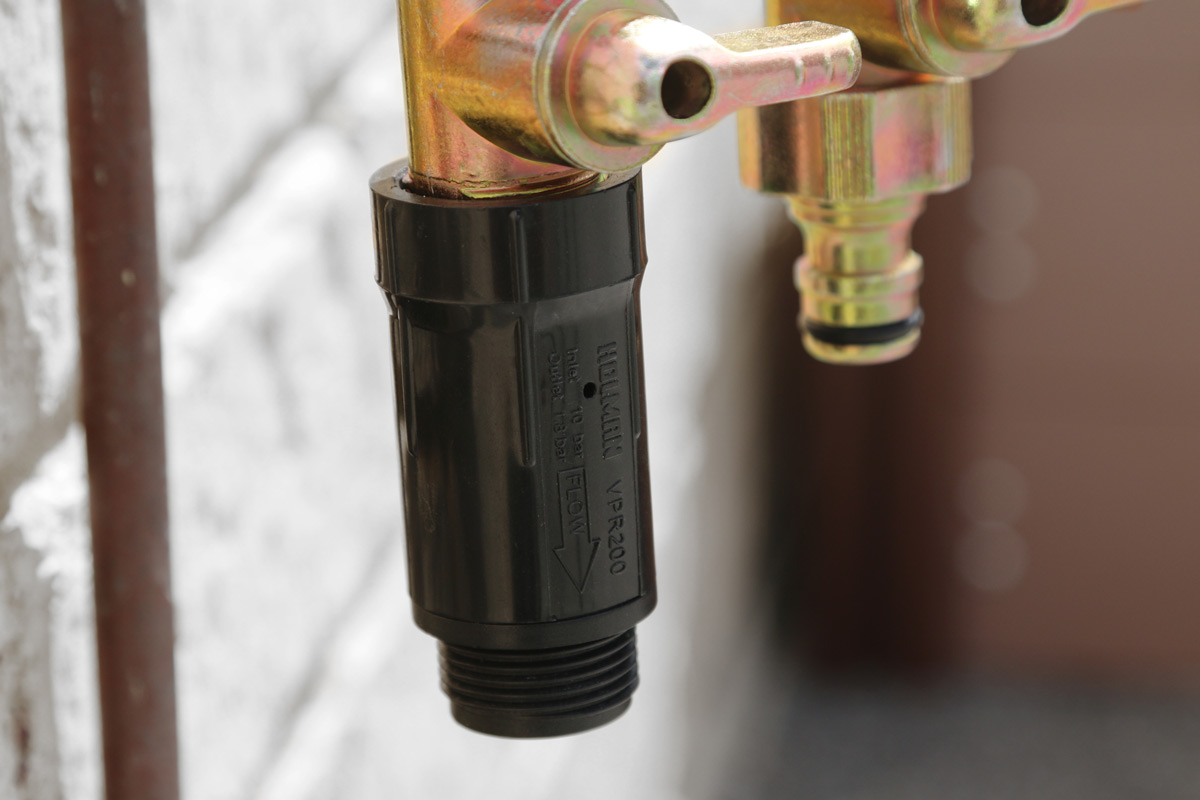
Water your Raised Garden Beds every day by hand for the first two weeks. Then set up a watering schedule on your tap timer to water every 3rd day for 5 minutes during spring and every day for 5 minutes during summer. We recommend attaching a pressure reducer to your tap timer for better water flow through the drip tube. The pressure reducer reduces the water pressure preventing damage to your drip tube or irrigation system due to high water pressure in the system.
*The included dripping pipe releases on average 4 litres of water per minute. Check your state government water regulations before setting the recommended watering schedule on your tap timer.
RAISED GARDEN BED ADVANTAGES
- No bending as the Garden Bed is elevated
- Good drainage
- Included watering system
- Wood composite is non-toxic; termite and rust resistant
- Easy to assemble no tools, bolts or screws required
- Available in two sizes 500mm x 500mm and 1000mm x 1000mm
- Modular vertical and horizontal
- Less weeds
- Less compact and warmer soil
SHOPPING LIST (1m Raised Garden Bed)
- Holman Raised Garden Bed (RGB1010) 1000mm x 1000mm x 300mm
- 6 x 20L Potting Mix
- 2 x 30L Soil Improver plus fertiliser
- 1 x 25L organic cow manure
- 1 x 45L Lupin Mulch
- Your selection of vegetable and herb seedlings
- Holman Digital Tap Timer (optional)
2 Weeks in
SUNLIGHT
We have had flourishing results from growing our vegetables and herbs in our Raised Garden Bed. Our garden beds have received 5 hours of morning sunlight and then enjoyed the afternoon shade.

WATER
For the first two weeks, we have had our Holman tap timer set to water the garden beds for 2 minutes once a day. Coming into warmer weather we will now set our tap timer to water the garden beds once a day for 5 minutes.
MAINTENANCE
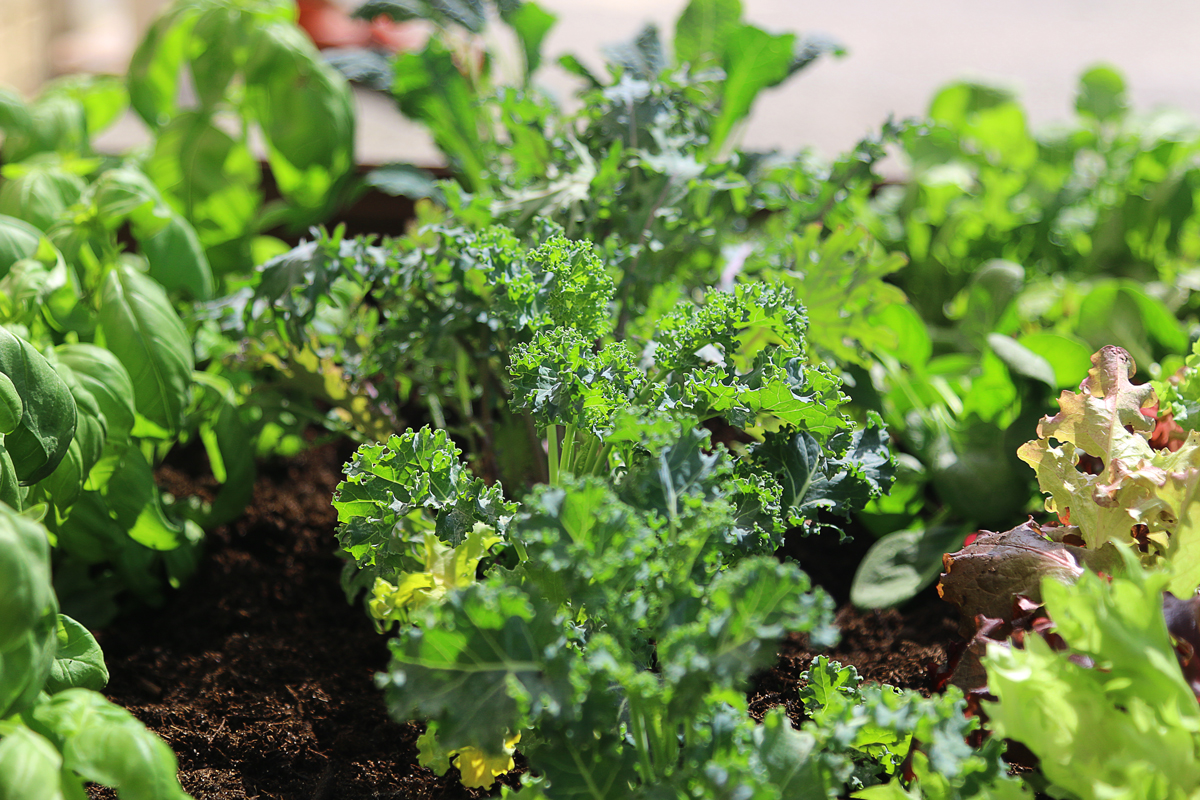
After two weeks our basil and parsley are ready to be harvested. To encourage new growth we trimmed the mature leaves back to half way down the stem to where the new leaves had started to form.
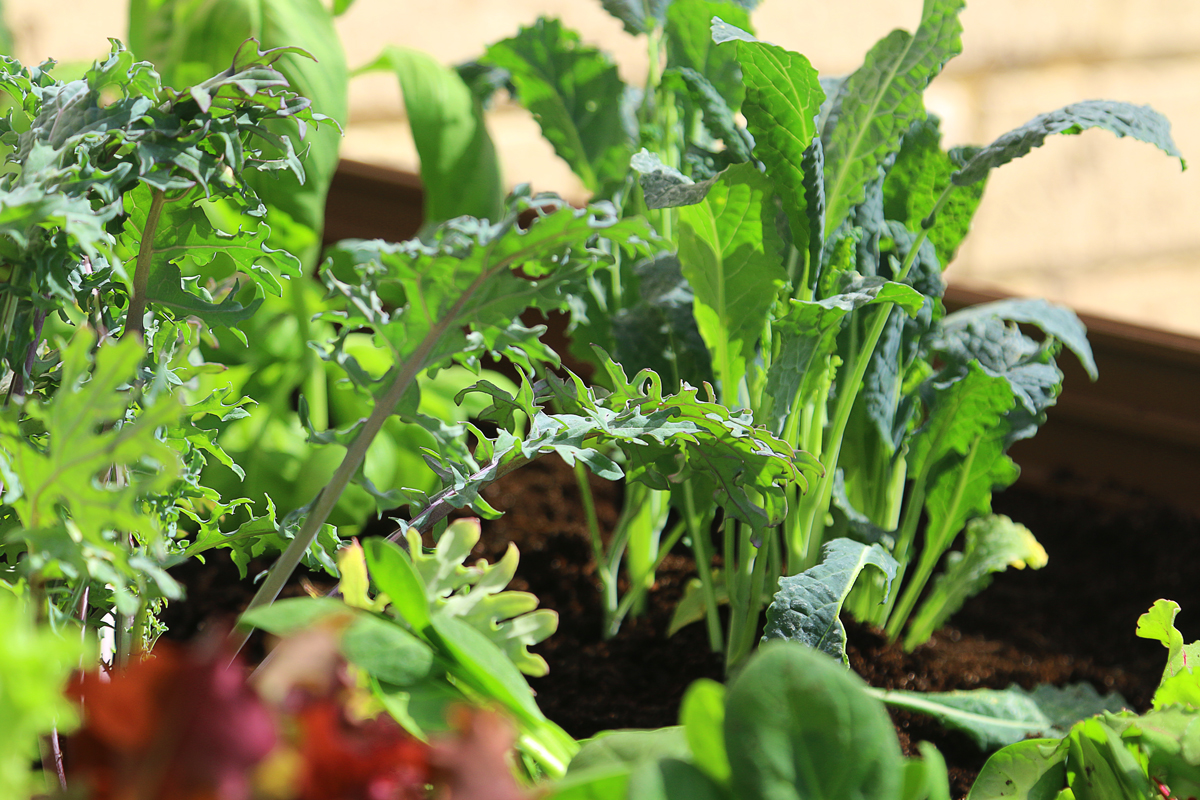
Our spinach, kale and lettuce had leaves that were ready to eat. To get continual growth from these plants we pulled the mature leaves off at the stem.
We suggest trimming and maintaining your garden bed every two weeks to continually encourage new growth to get the most foliage from your plants.
PESTS
Raised garden beds have less risk of pests. Snails and slugs find it harder to make their way into these garden beds as they are raised from the ground. Two weeks into our new garden and we have not experienced any problem with pests. To minimise the risk further we suggest regular inspection of your plants.
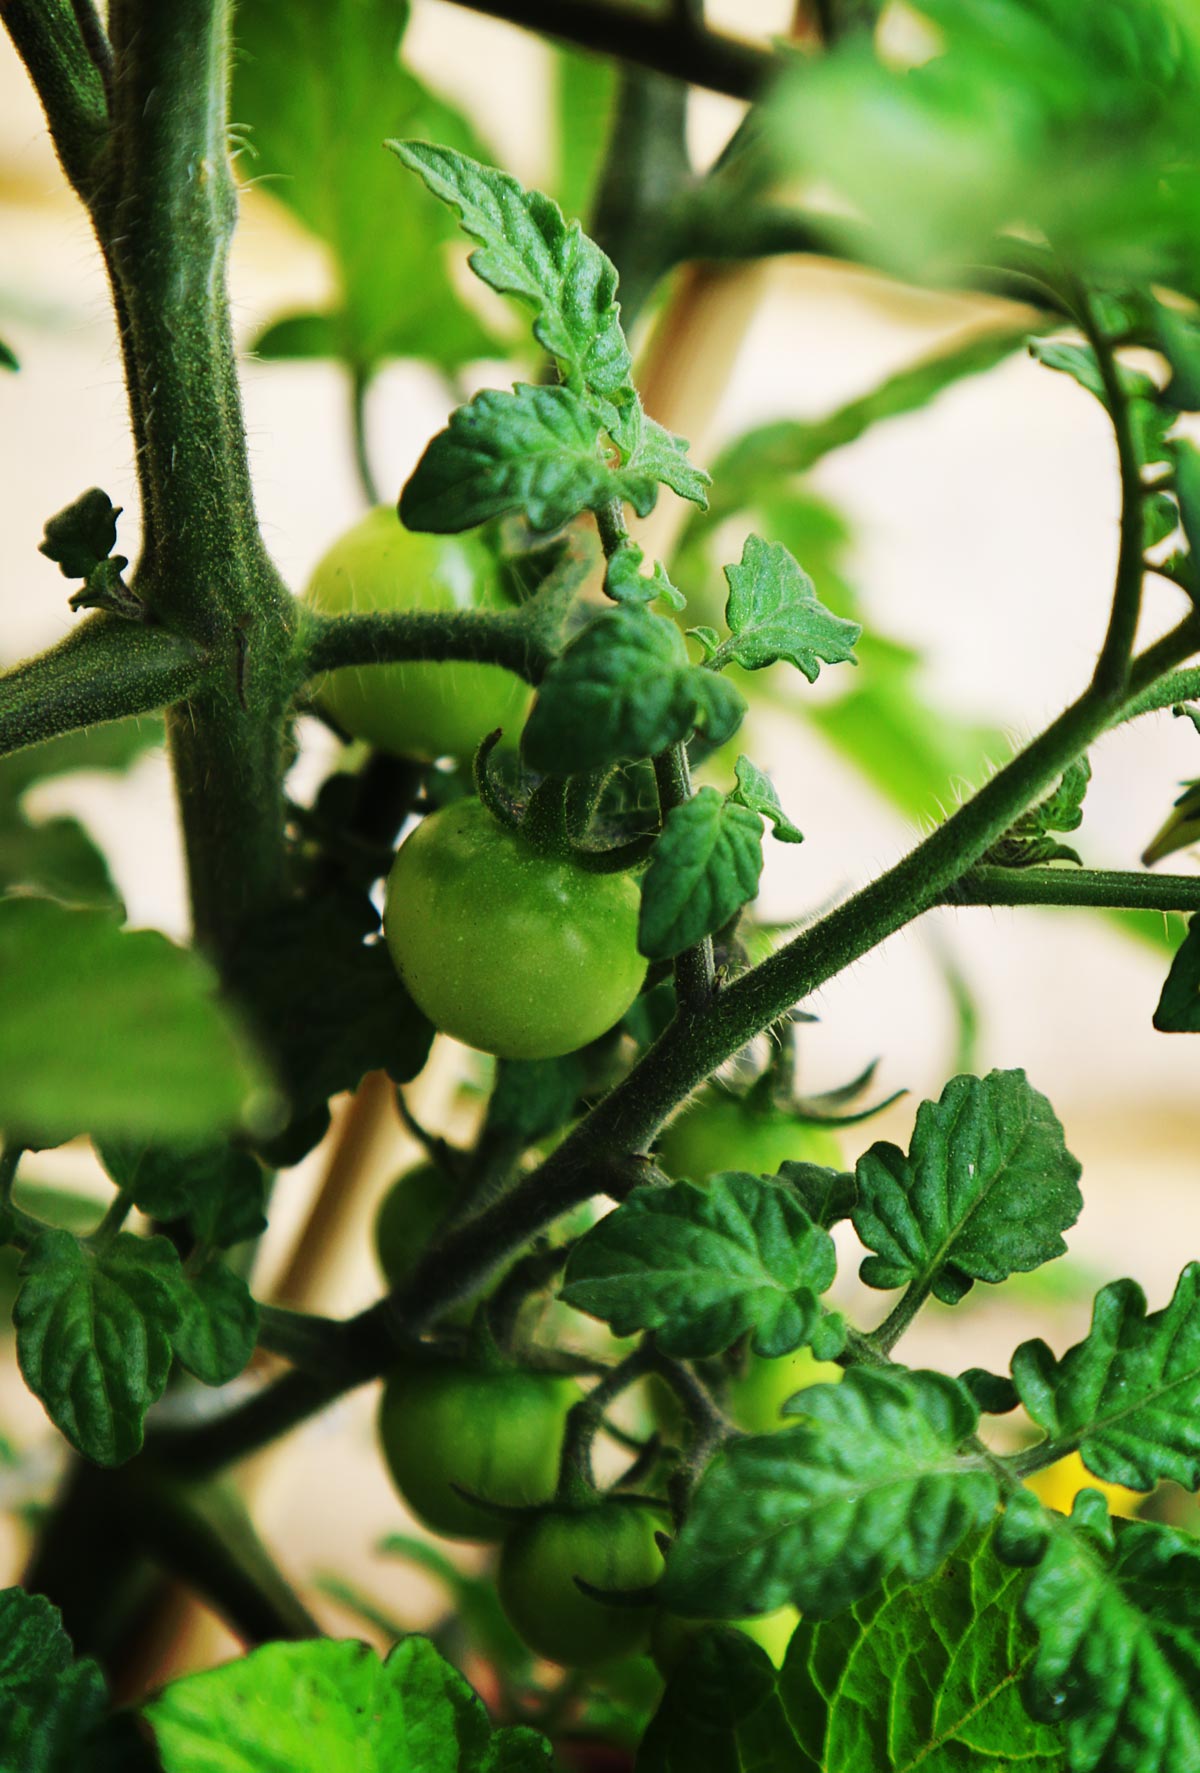
Our tomato trees and strawberry plants will be ready to harvest soon. Watch this space for our next Raised Garden Bed update.

Thanks for the great gardening tips! 🙂 I had a question though I was hoping you would please
help me with… In a garden, how can you kill unwanted plants (e.g.
weeds) without hurting other plants?
Hi Pricilla, thank you for your question.
Everyone has a different approach to dealing with weeds. Personally, I weed by hand and prefer not to use chemicals especially around edible plants. I like spending time in the garden on a daily basis so pulling out a stray weed or two is light work for me 🙂 But as I mentioned, this is only one approach and I encourage you to hunt around on the net for alternative solutions. Good luck!
Rose
Holman Industries
How much are your raised garden beds?
Hi Wendy, depending on the model they range from $54-$135. Thank you.