
Create the ultimate statement piece, either for your home garden or commercial environment with our GreenWall™ range!
GreenWalls are a great solution for smaller spaces or apartments where ground gardening isn’t available, we’ve put together 7 simple steps for you to follow so you can install your very own GreenWall! If you need a little extra help, check out our DIY tutorial.
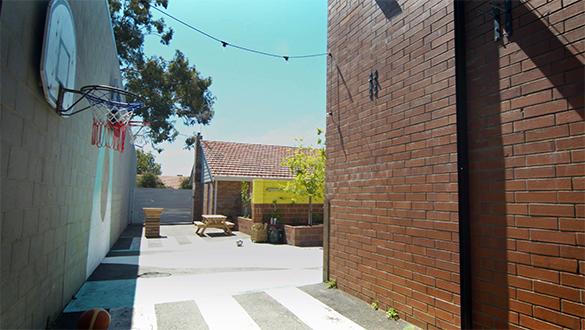
1. Location
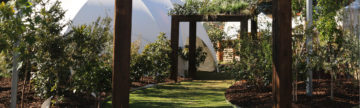
Where you install your GreenWall will determine your plant choice and the success of your GreenWall, we recommend installing your GreenWall on a North or West facing wall as they generally receive the most light and heat. At Laika, we picked a shady spot that receives partial sun in the afternoon.
2. Design
Determine how many panels you want to install to achieve your design. The panels can be assembled along the wall running horizontally or vertically. Make sure to measure you space beforehand! Here, we were able to fit 3×6 panels, making this design a massive 144 pot GreenWall!
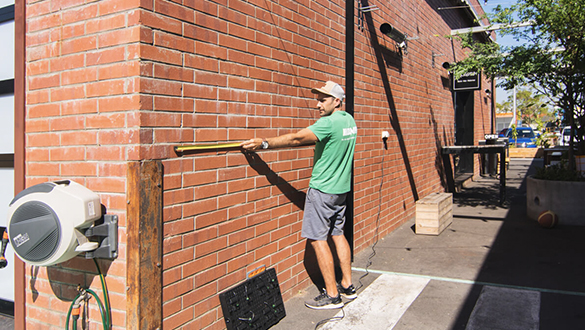
3. Mark the Location
Hold your panel to the wall and decide on the placement. Once you’ve made your decision, ensure the panel is level with a spirit level. There are two circles with ‘flowers’ around them, place a pencil in the hole and mark the wall. Remove the panel, in the centre of the two marks you’ve just drawn – mark another hole for extra support.
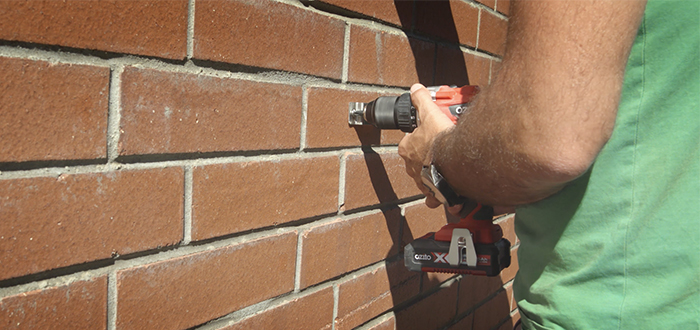
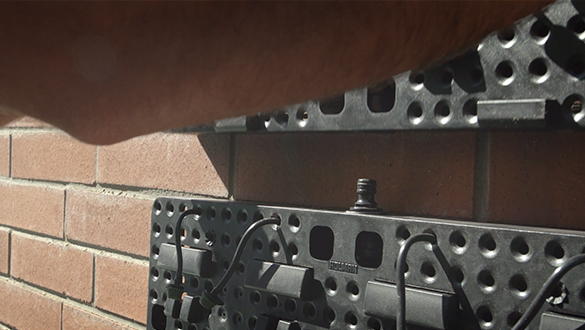
4. Drilling the Location
At Laika, our GreenWall was mounted onto solid brick so we used a 6.5mm mason bit to drill the 3 holes. Insert plastic wall plugs and fix the stainless steel bracket into the wall using the stainless steel screws.
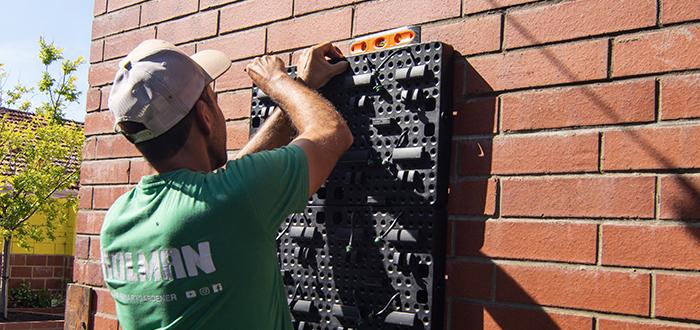
5. Hanging the Panels
If you have multiple panels, hold the second panel in line and adjacent to the first. It’s important that the edges of the panels line up and are level, repeat steps 3 & 4. Attach the included 12mm two way coupling to the top of the first panel if you are hanging vertically, or the side if horizontally. Place the 2nd panel onto the bracket and click onto the coupling.
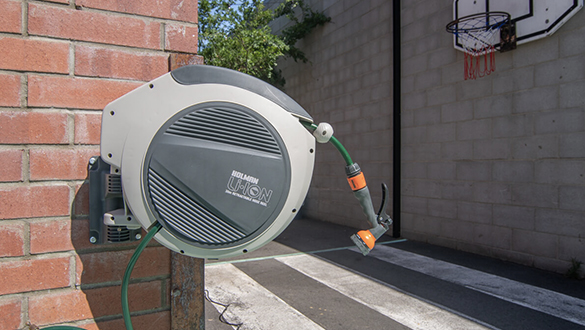
6. Testing the Irrigation
Once you’ve installed all your panels, we recommend testing the irrigation before putting your pots on the GreenWall. Connect a garden hose or poly pipe to a 12mm coupling. This can be placed on any side of the panel. Attach the other end of the garden hose to the tap and turn on the water. Adjust the drippers so they a dripping at a steady rate.
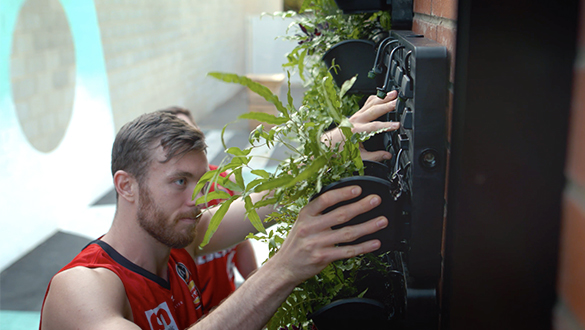
7. Hanging the Pots
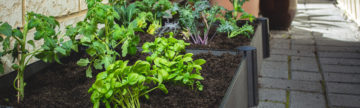
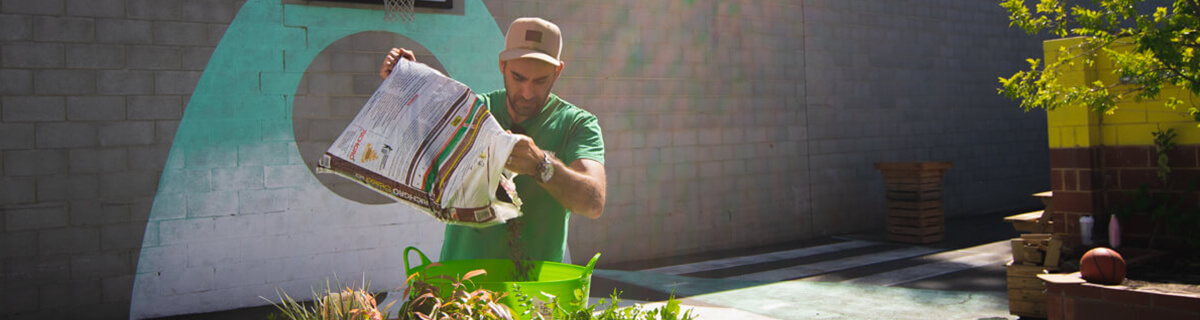
Plant the pots for the panels before installing. Once they are planted they are ready to be hung onto the panel. We used a good quality potting mixed with coir peat (30/70) to hold water and receive the right nutrients, ensuring your plants won’t dry out too fast. Slot the hook on the back on the pot into the panel and ensure the dripper are placed in the pot.