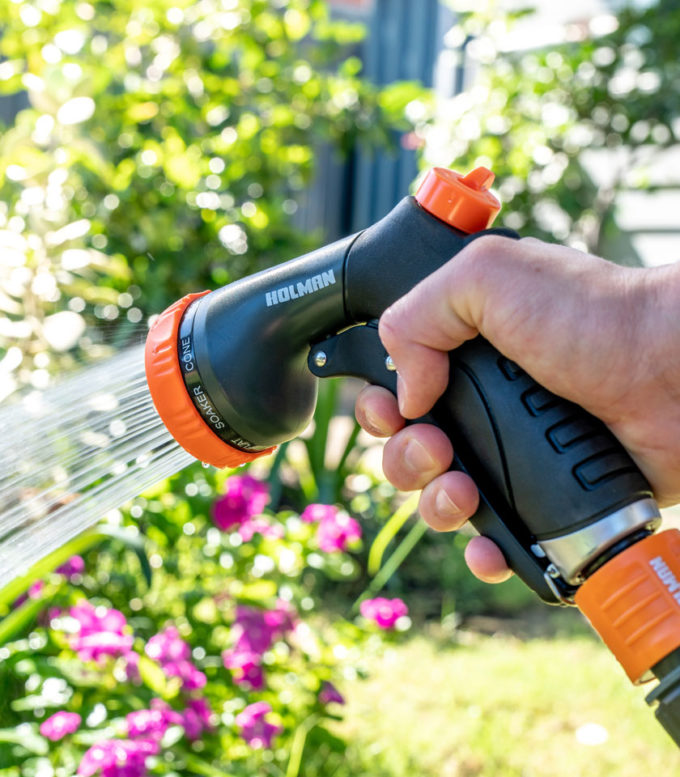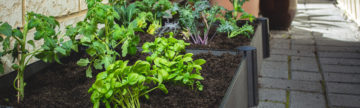
With Spring now here, along with the new season comes lawn and garden maintenance for most homeowners. Learn how to quickly clean sprinkler nozzles in 6 easy steps.
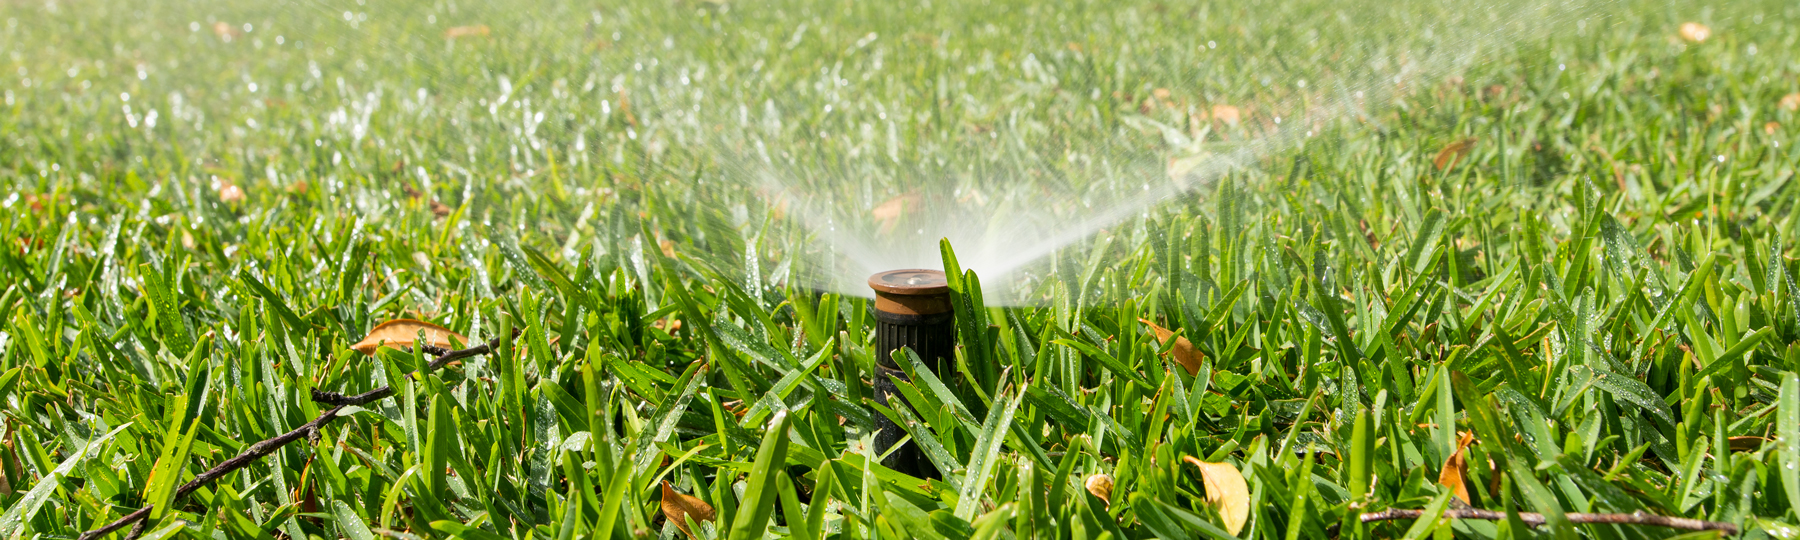
Having your own irrigation system comes with many responsibilities and regularly checking for blocked or broken sprinkler nozzles is one of them, especially after winter. As your irrigation system was not used as frequently over the cooler months, rain and storms can cause your sprinklers to become full of dirt or debris. Highly trafficked areas on your lawn can also increase the chance of blockages. As a result, insufficient water reaches your lawn, causing dry spots during the warmer months (which no one wants).
Before your spring watering kicks in, we will show you the most effective way to clean sprinkler nozzles, without it being a full day job.
Preparation:
Before you can get started with the cleaning process, first ensure that your irrigation system is turn off. You will also need to prepare a bucket of hot water and have a piece of stiff wire or a paperclip to help clean the sprinkler holes.

Step 1: Removing the Nozzle & Filter
To remove your sprinkler nozzle, you will need to first lift the sprinkler riser and unscrew the nozzle. We recommend that you undo the filter basket at the same time. Remove them both completely and place the nozzle into the hot bucket of water.
Step 2: Soaking the Nozzle & cleaning the Filter
While the nozzle is soaking in the hot water, run the filter under a tap and remove any debris that may have built up.

Step 3: Flush the System
Before you put the filter back, use a flushing cap to properly flush your irrigation system, this helps maintain the pressure of your lines.
Pull your riser up again and screw on the flushing cap, run your irrigation system for 20 to 30 seconds. You can do this step one sprinkler at a time, or replace all of your nozzles with flushing caps, and flush your irrigation system at the same time.

Step 4: Cleaning & Replacing Nozzles
Now that the sprinkler nozzles have been soaking for a while, most of the dirt should have removed itself. If you find some of the sprinkler holes are still blocked, gently scrape out any leftover dirt with the stiff wire.
Now you can install the filter and nozzles back into your sprinkler risers, ensuring that the riser returns the entire way down.
If you need to replace any nozzles, insert the filter and screw your new nozzle into the top of the riser.

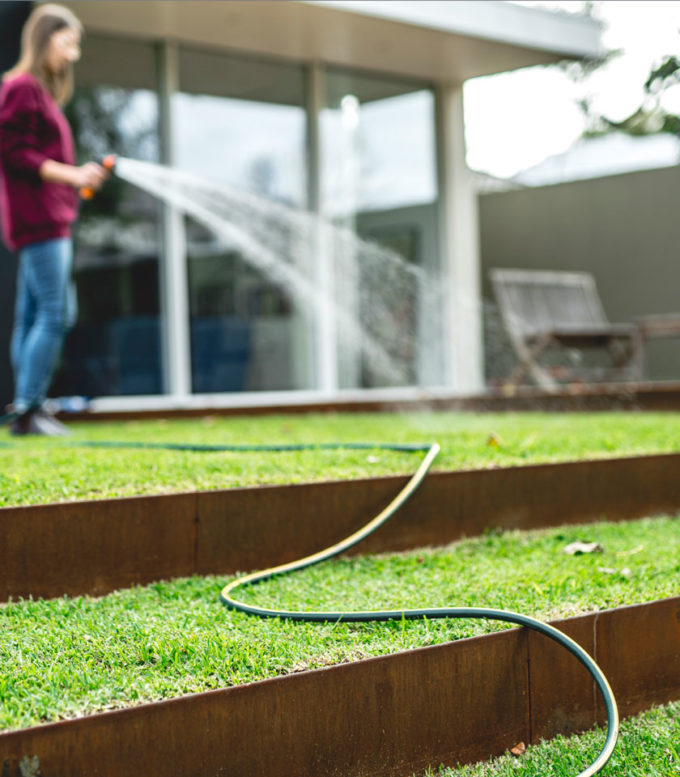
Step 5: Testing the sprinklers
We recommend that you test your irrigation system after cleaning to ensure that all of your nozzles are spraying evenly and in the right direction.
Step 6: Troubleshooting
If your nozzle is not functioning properly, first make sure that is has been screwed in properly. You can also double check the filter for debris and soak the nozzle again to remove any dirt that may have been missed. If the nozzle is still faulty, we recommend replacing with a new nozzle and testing again.