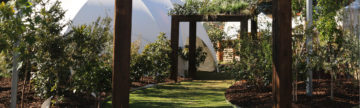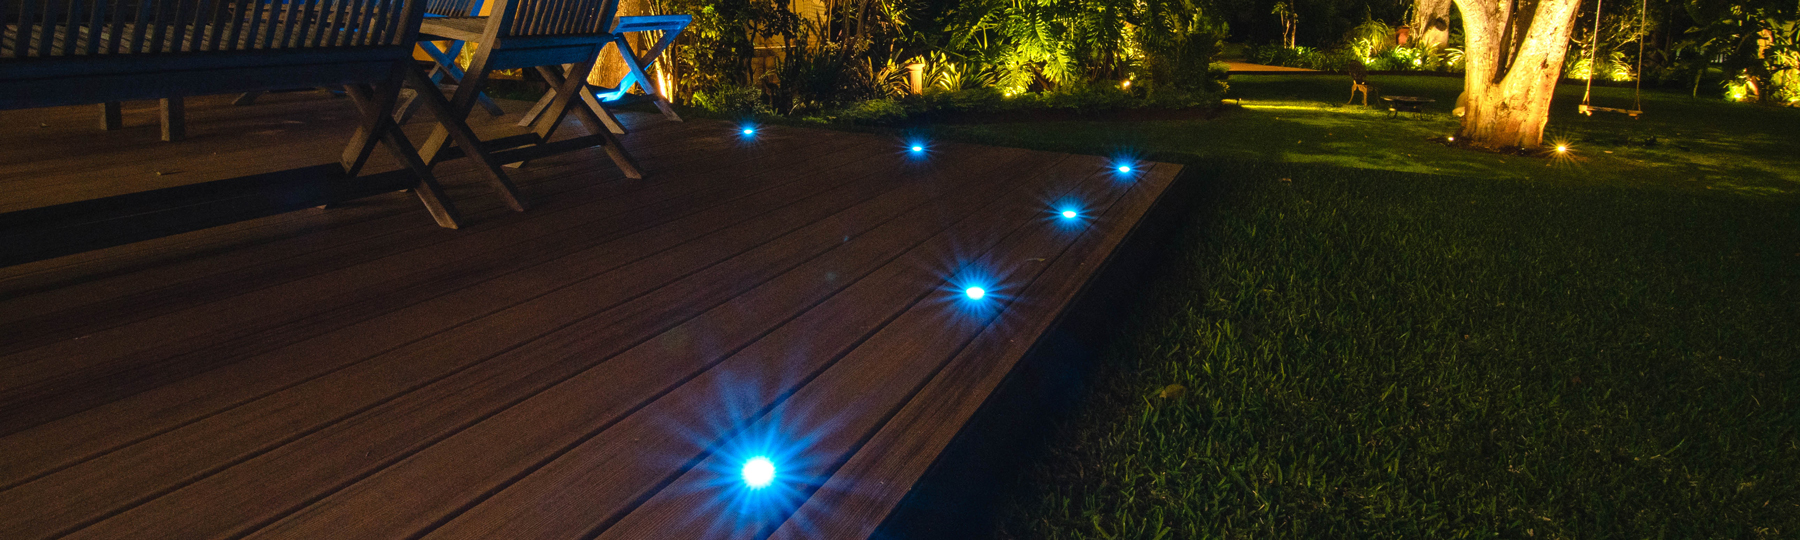
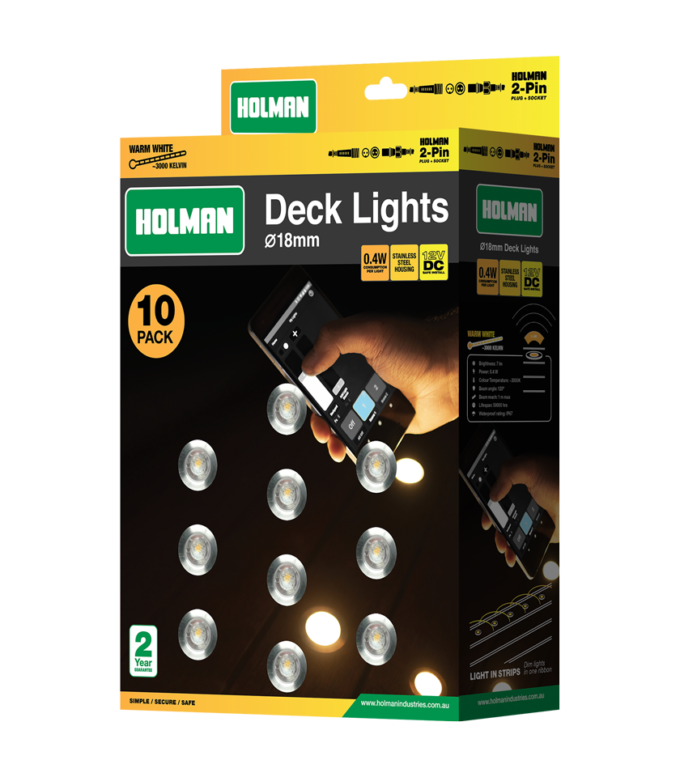
If you’ve been thinking about upgrading your deck, why not take it a step further by incorporating some of our Bluetooth® or Wi-Fi Controlled Deck Lights to help liven up your space.
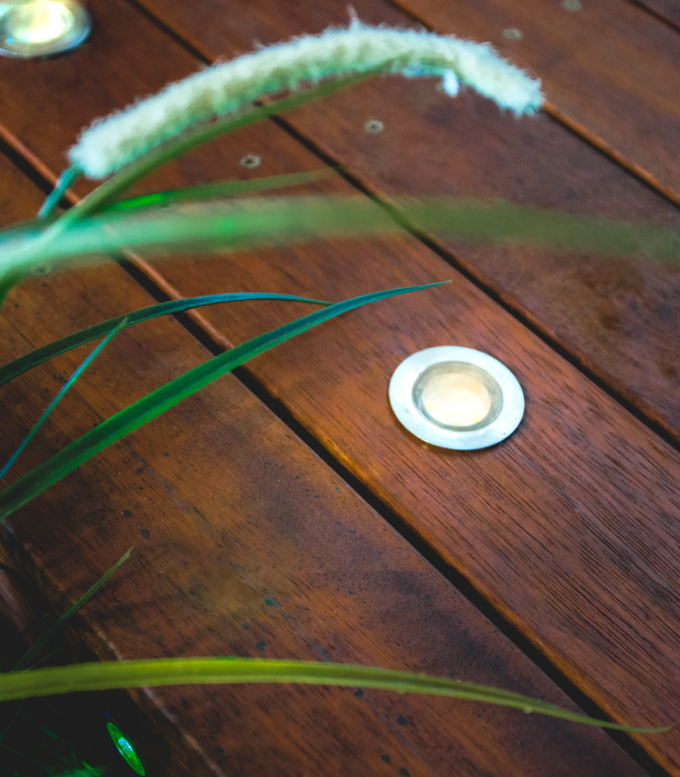
Designed to help illuminate and add ambience to your outdoor space, our system is completely DIY so you can install Holman Deck Lights yourself. These can also be used to light up wooden steps or create a safety barrier around the edge of your decking. We will take you through the step by step process of choosing the right controller and lighting, how far apart to space your deck lights and the correct way to install them.

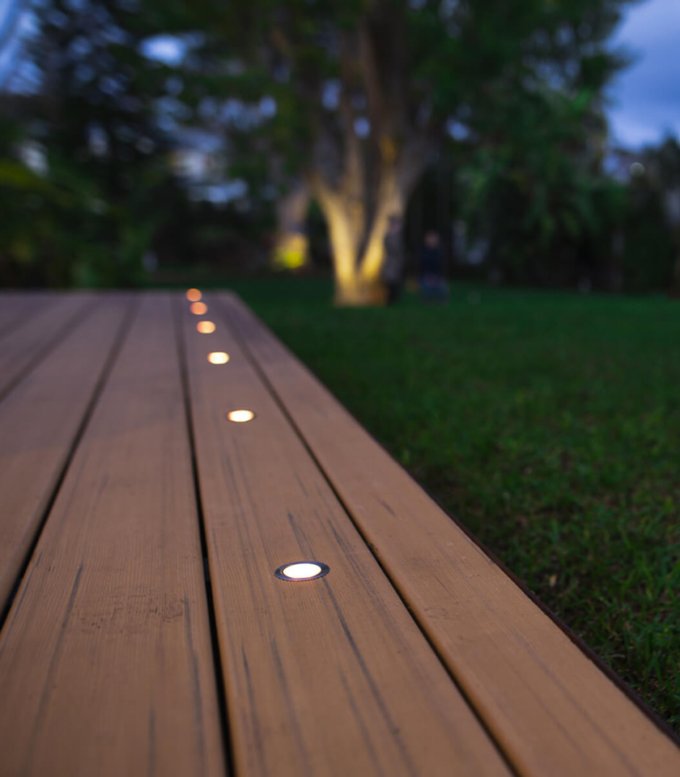
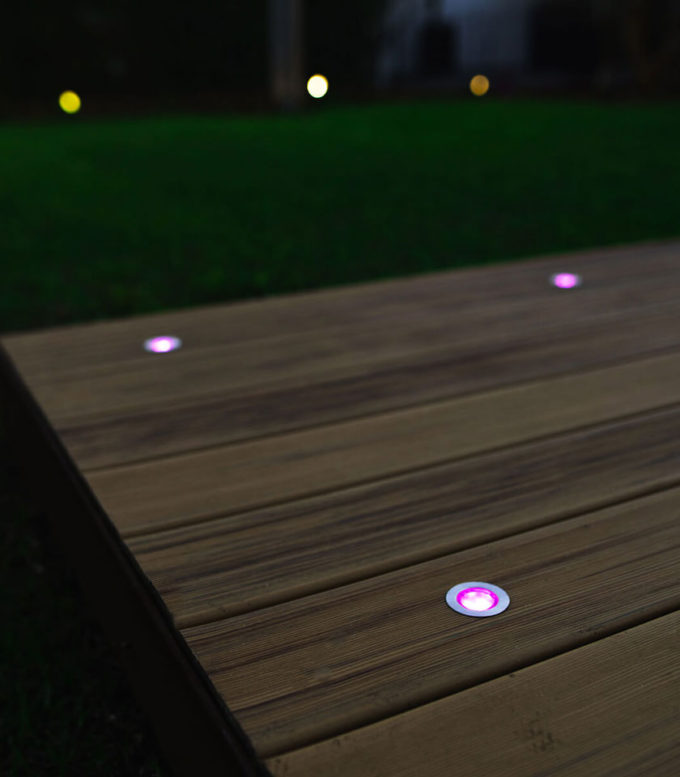
Use to light up steps to increase safety at night

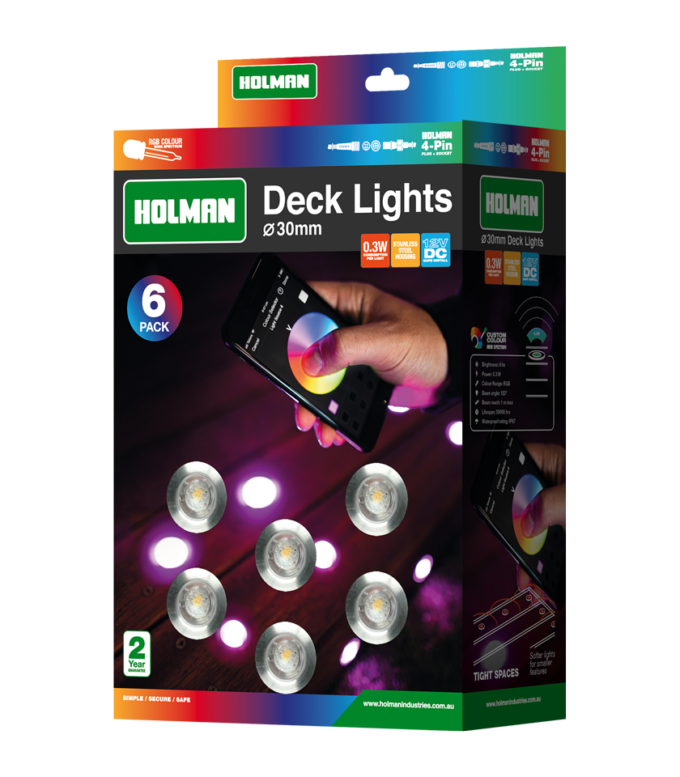
Mix Warm White and RGB Colours to create a beautiful feature

Use to illuminate your deck border and create light shows at night time
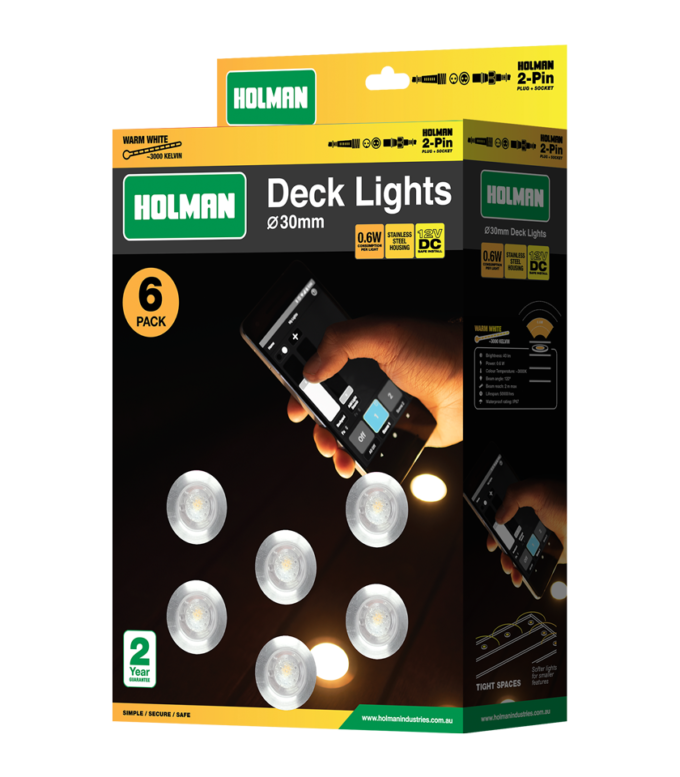
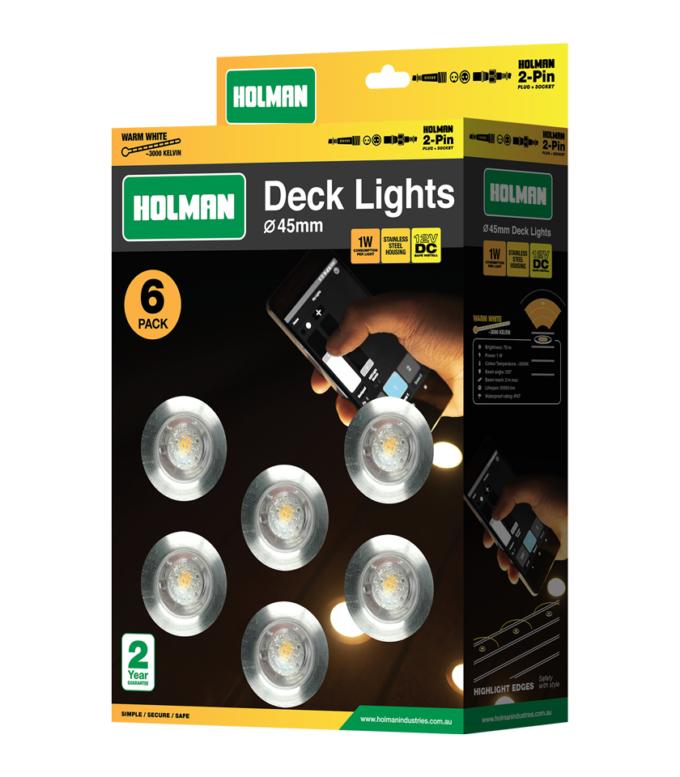
HOLMAN DECK LIGHTS SIZING GUIDE


CHOOSING YOUR LIGHTING


STEP 1. PLANNING AND MARKING
Before you get drilling, planning out the correct spacing for your deck lights is vital. This will determine how many lights you require, and the length of cable needed to connect them to the controller. Our deck lights are automatically spaced out with up to 2m in-between each light. Plus, our Plug & Socket systems allows you to simply plug in and enjoy!
We suggest marking on your decking exactly where you want to have your lights and placing them out to ensure the spacing is correct.

STEP 2. DRILLING HOLES
Now that your marks have been made, if you can, we suggest removing the panels you will be drilling into. This is so you can connect the cabling together underneath your deck. It also allows you to check that there are no other cables or pipes behind your deck. Remove the desired panels and drill the required holes into your deck where you marked.
Refer to our sizing chart above to determine the size of the spade drill bit you’ll need.

STEP 3. INSERTING LIGHTS
Push the deck lights and cables into the holes you’ve drilled, making sure the fixture is secured tightly with no more than a couple of millimeters to move. Ensure that each Deck Light is daisy chained together. To connect the starting light to your chosen controller, we have a range of connection cables available in various lengths.
Now that all of the deck lights are connected, you can place the decking boards back into their original position.
Note: We recommend no more than 12 deck lights to be daisy chained together. If your plan includes more than 12 Deck Lights, add an expansion tee and another length of connection cable from your controller to the next group of deck lights. You can read our help article about connecting multiple deck lights together here.

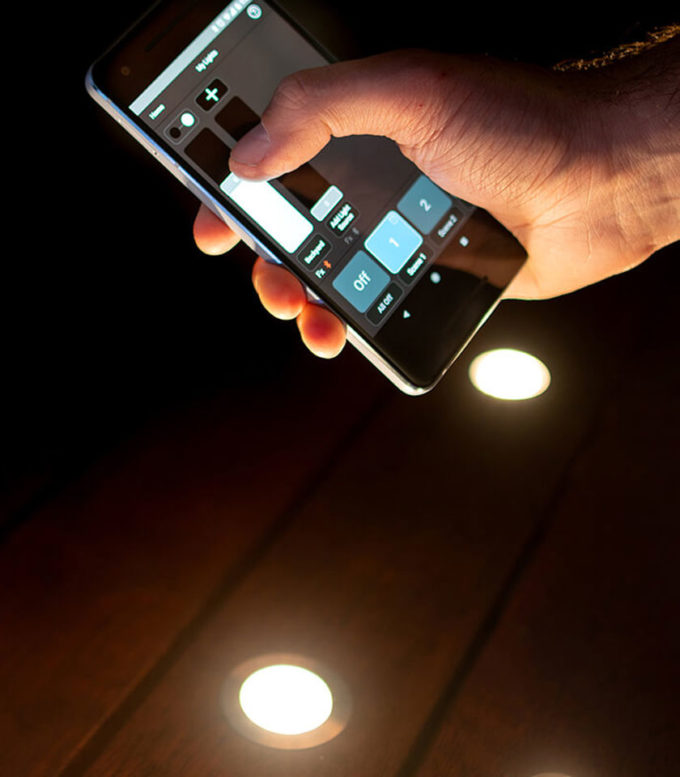
CONTROLLING YOUR LIGHTING
If you need help scheduling and setting up your garden lighting, we have a whole range of Garden Lighting FAQ’s, help articles and instructions available on our support page.