Throughout the different seasons of the year, your garden beds go through rather large changes.
Depending on the amount of crop and the variety of plants that you grow, some changes need to be made to ensure you are doing the best for their growth and survival, whilst getting the most out of your current garden set-up. If you have one of our Raised Garden Beds, or any other garden beds that need a bit of TLC coming into Spring, these handy tips will help you bring your garden beds into tip top shape!

PREPARING THE SOIL
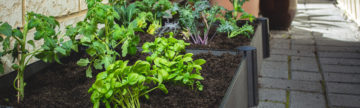
To get your garden bed preparation started, first you will want to harvest any leftover veggies from winter and remove any unwanted weeds that have grown. Once your soil or raised garden bed is free from any growth, spread a compost and fertiliser over your soil and mix it in. The aim of this is to work the compost deep enough, where you are going to plant your seedling. This gives them the best start and extra nutrients they may need. Flatten out the soil and you can begin planning and laying out where you are going to plant your veggies.
CHOOSING WHAT TO GROW
The best time to start growing in spring is between late August and mid-September, when the days start to become longer and warmer. The list below of herbs and veggies is a great place to start if you’re looking to grow in this period. Keep in mind to place taller growing veggies at the back, or in a place where they will not shade any of the smaller veggies.
- Basil
- Chives
- Coriander
- Dill
- Oregano
- Parsley
- Rocket
- Thyme
- Beetroot
- Cabbage
- Carrot
- Lettuce
- Mint
- Peas
- Pumpkin
- Radish
- Silver beet
- Tomatoes


DECIDING WHEN AND WHERE TO GROW
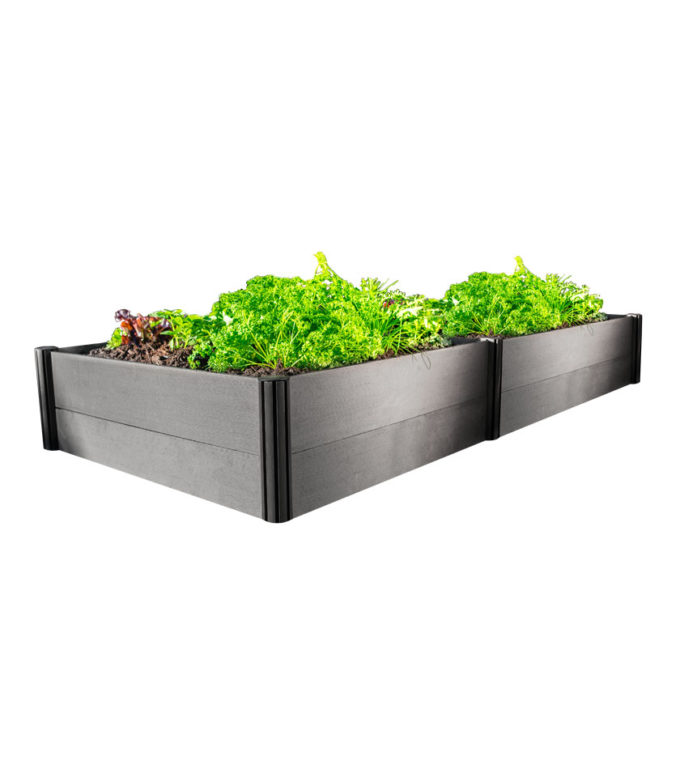
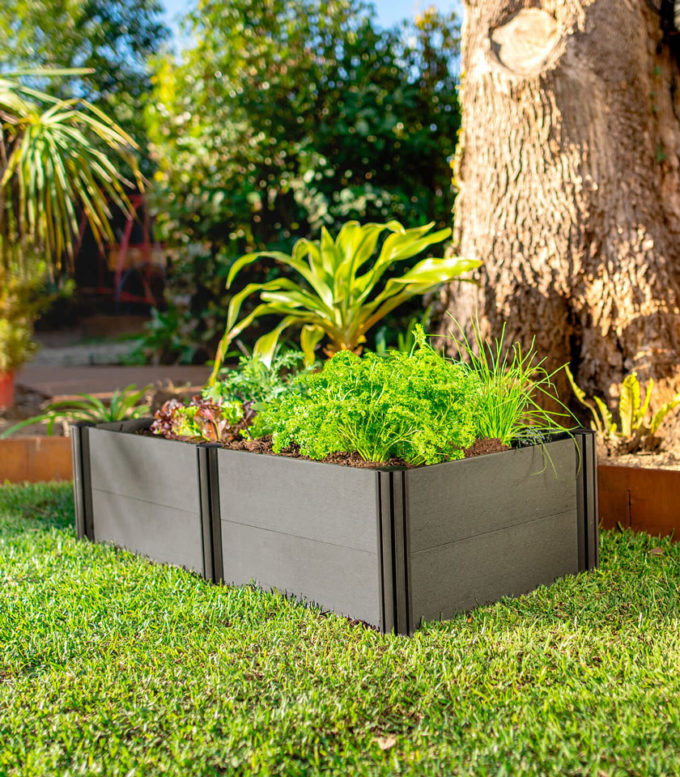
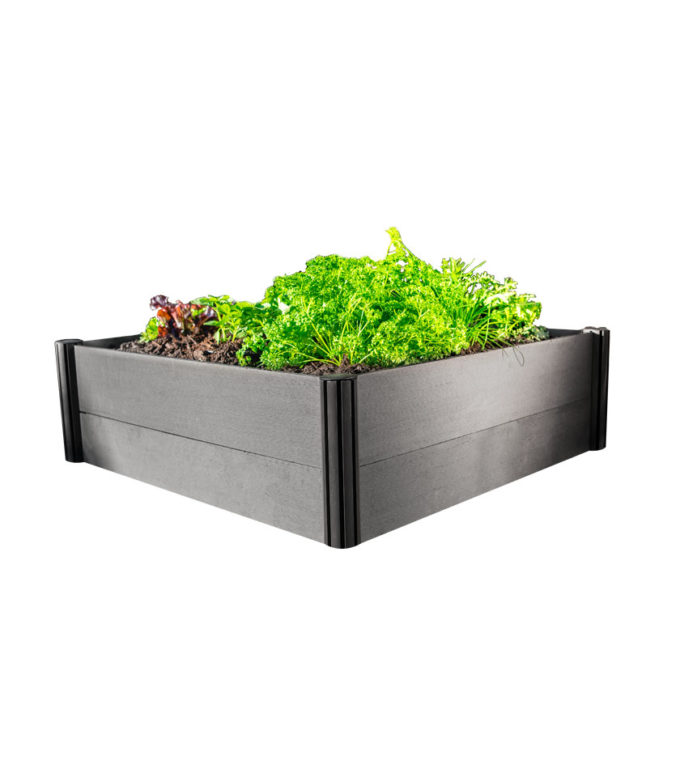
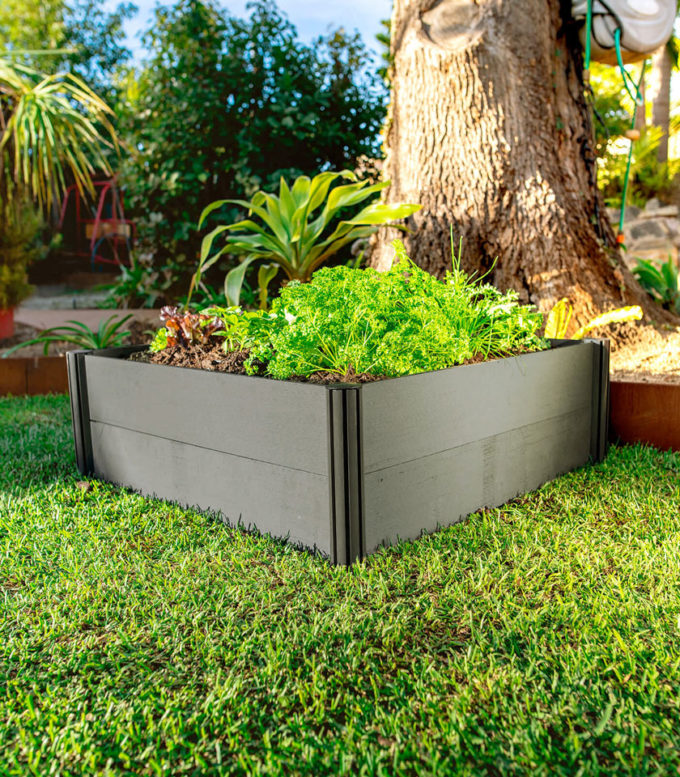
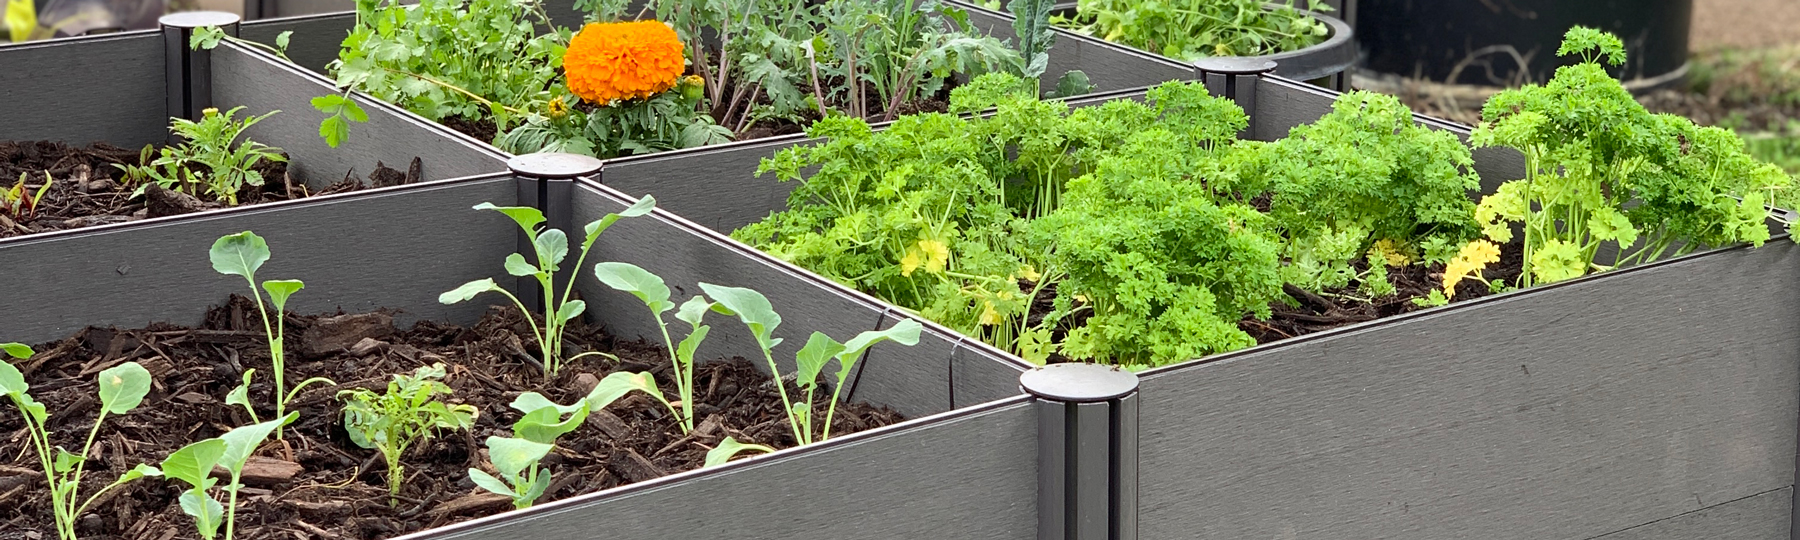
Map out the area that you are going to plant, or ensure you have enough space in your Raised Garden Bed for the veggies that you are going to grow. It is important not to over crowd your space and allow plenty of room for root growth. The Added Depth range (300mm deep) are ideal for vegetables, while the 150mm depth garden beds are suitable for herbs and salads with shallower root systems. If you are planting a large supply of veggies that you will most likely not eat at once. Stagger your planting to spread out the growth over a few weeks, this way you will get new veggies and herb to try at different times. Also consider the different growth times and watering needs of each plant.


PLANTING CORRECTLY
Lay your seedlings out on the soil to get an idea of how your plant arrangement will look. When you are ready to start planting, squeeze the bottom of the seedling containers to ease the seedlings out. Gently ease apart the bottom of the roots on each seedling. This will help the small roots spread out and grow into the soil. Dig your holes a little deeper than the depth of the seedling roots. Place each seedling in its hole and fill to the top with soil. Gently press down around the root base of each seedling.
ADJUSTING YOUR WATERING
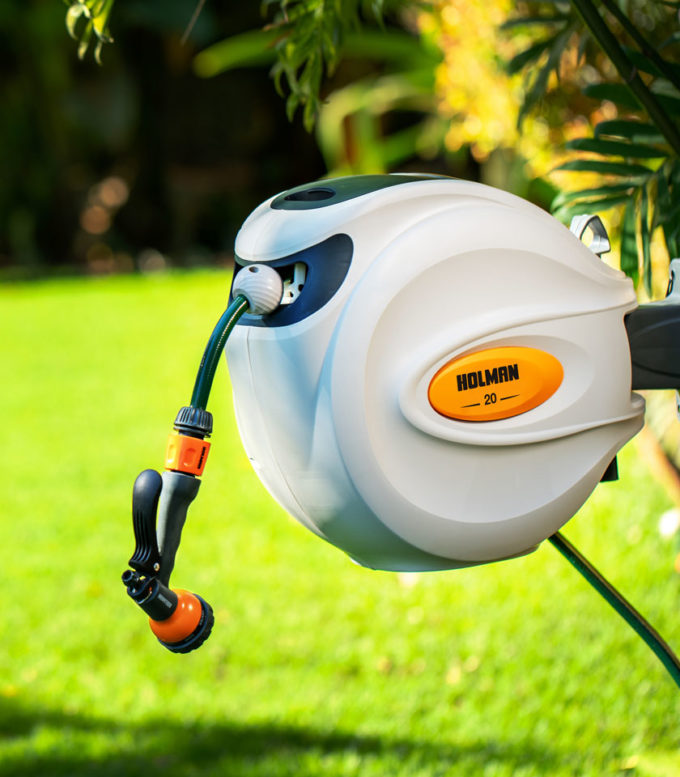
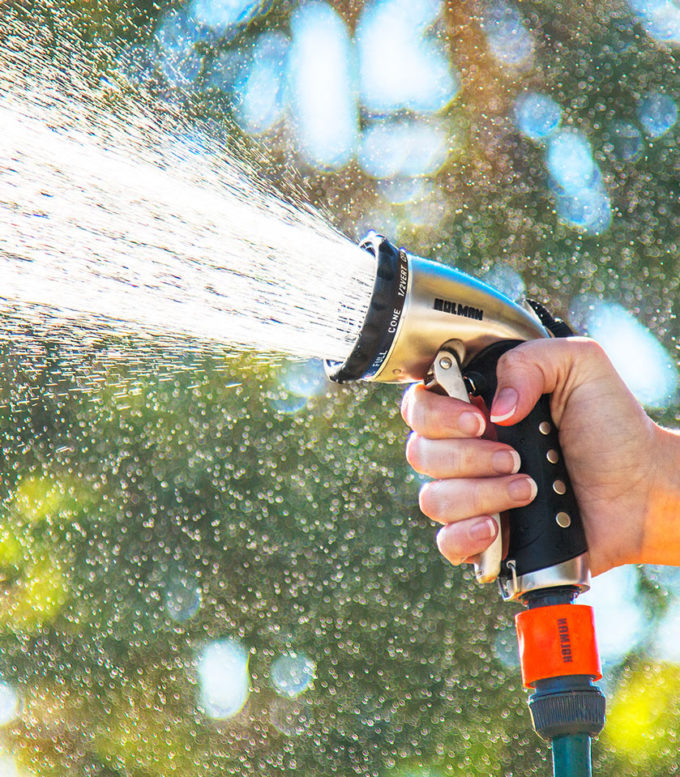
When you are finished planting, apply a 2-inch layer of mulch around your seedlings. Do not mulch right up to the base of the plant as moist mulch gathering around the base can cause it to rot. You will need to adjust your watering from what you had scheduled over Winter. With the temperature now increasing, check your veggies every second or third day to ensure they don’t dry out. We recommend watering via drip irrigation to help reduce evaporation throughout the day.