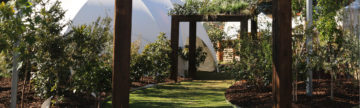
Every house seems to have that one tricky spot that is a challenge to utilise.
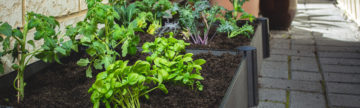
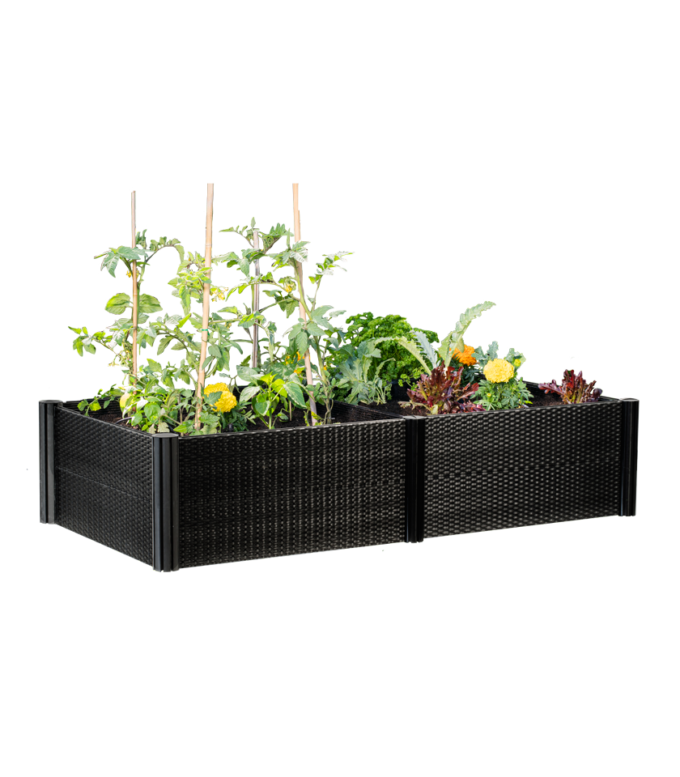
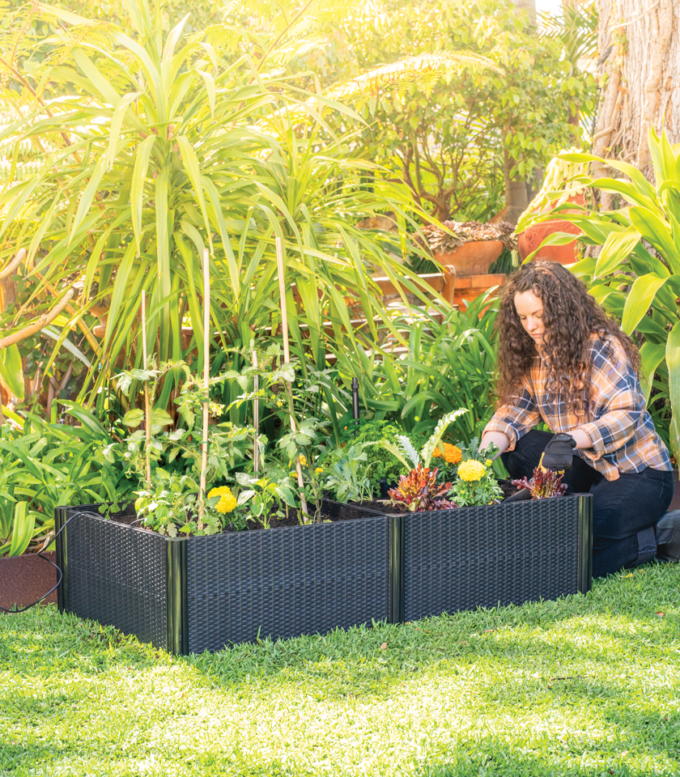
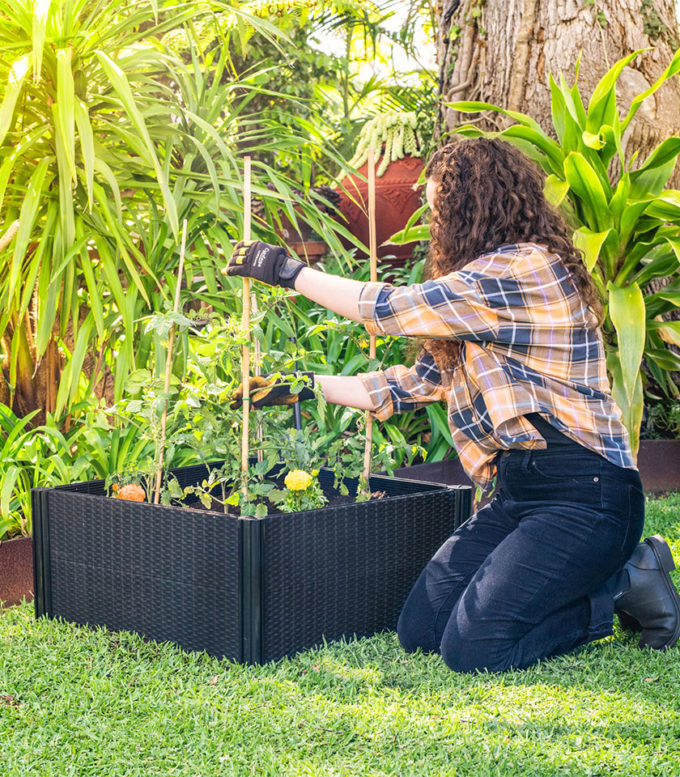
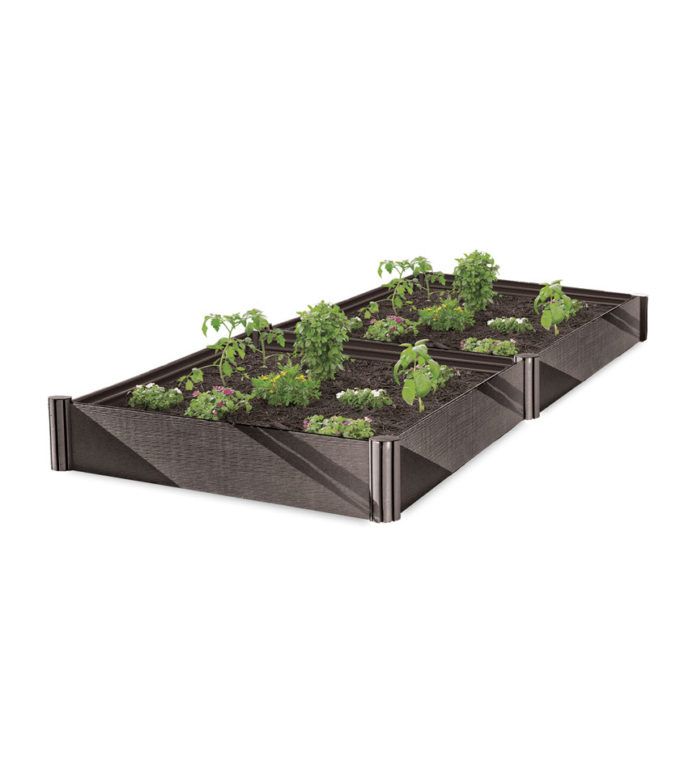
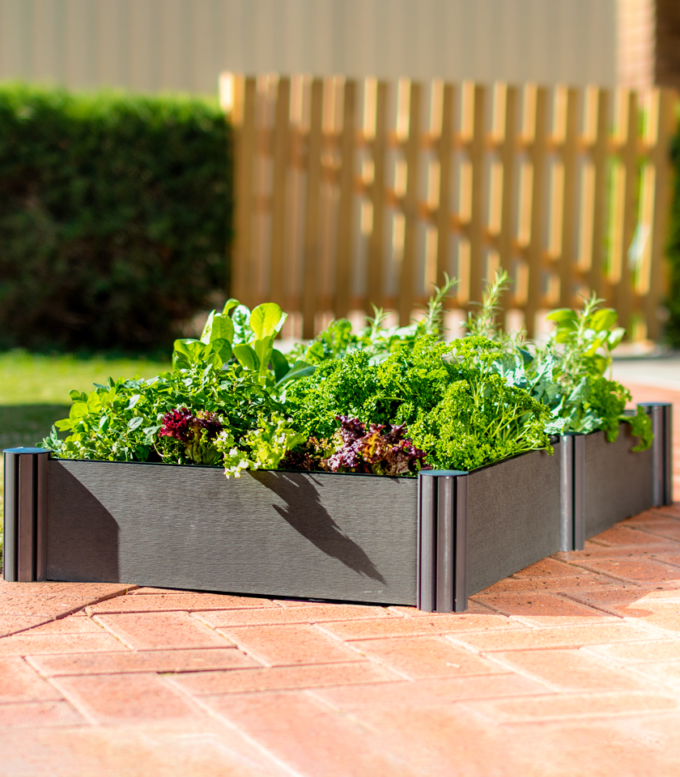
It did not take us long to find such a place: the side of the house. We took a narrow paved walk-through area and decided to add some life into it with a 600 × 1200 × 150 mm Raised Garden Bed. The HOLMAN Raised Garden Beds come in a range of sizes; 600 × 600 × 150 mm, 900 × 900 × 150 mm, and 600 × 1200 × 150 mm. Raised Garden Beds encourage faster plant growth due to the soil being warm and less compact because it is raised off the ground. Vegetable roots spread out easier and find nutrients quicker in warm and loose soil and this helps them thrive and grow faster.

Before

After
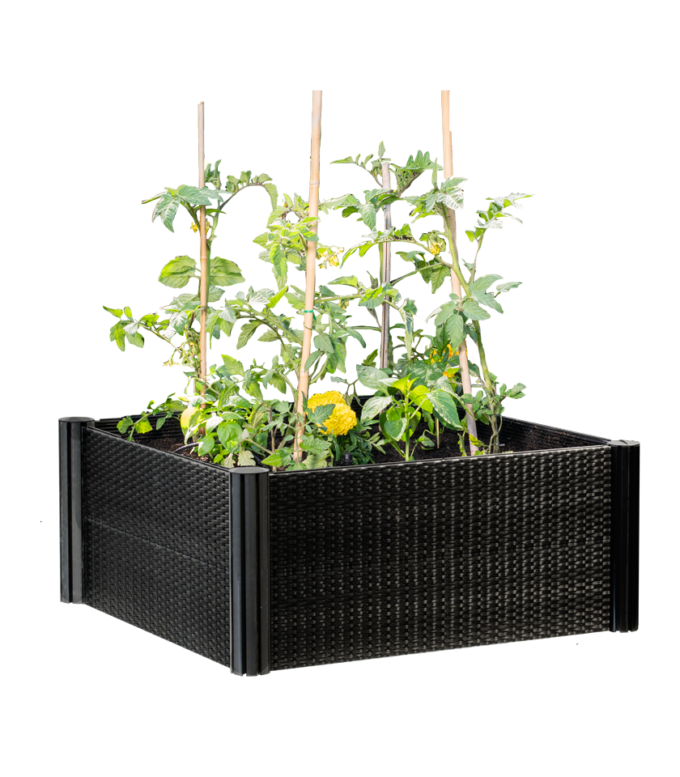
Raised Garden Bed Advantages
- They are easy to assemble and don’t require tools, bolts or screws
- Included watering system
- Available in three handy sizes
- Modular system, so you can join multiple beds together
- A great solution for people who rent – you can take your garden bed with you when you move
- Less chance of pests as the garden bed can be isolated from the wider garden
- Wood composite is non-toxic, termite, rot and rust resistant
- Warm and less compact soil encourages faster plant growth
Specifications
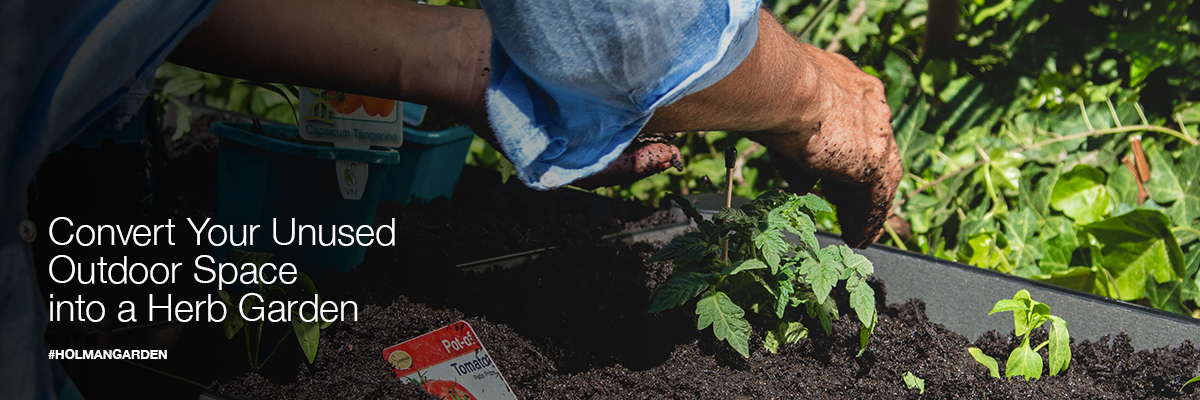
Our Shopping List
• Holman Raised Garden Bed kit
• Weedmat to fit your chosen bed size
• Good quality potting mix
• Organic compost
• Good quality wood chip or lupin mulch
• A selection of herb and/or vegetable seedlings
For 600 × 1200 x 150 mm Raised Garden Bed RGB0612 we used:
• 2 × 25L potting mix bags
• Half 1 × 30L compost bag, half 1 × 25L mulch bag
• Weedmat 0.9 × 5m, 3 × tomato seedlings
• 3 × basil seedlings and 6 × kale seedlings
Tools
• The garden bed itself does not require any tools to assemble
• Scissors to cut the weedmat to shape
• A small trowel for digging your seedling holes


Sunlight
Before starting your project consider the amount of sun your chosen area receives. Full sun (5+ hours) to part sun (3+ hours) is perfect for most herbs and vegetables. If you experience very hot summers, a mild morning sun position is preferable to a hot afternoon sun position. If your plants are exposed to too much hot Summer sun they are likely to become stressed or damaged. If the only available spot you have is exposed to hot Summer sun for most of the day (5+ hours), you may want to consider shading your plants on particularly hot days with some shadecloth.
STEP 1: Assemble the Raised Garden Bed
- Lay out all the contents and start with the wood composite panels. Slot the side panels in the upright corner posts. Face the tongue of the panels upward.
- Install the caps on top of the corner posts.
- To extend your Raised Garden Bed horizontally, simply slide another panel an existing corner post and construct the remaining panels.


STEP 2: Laying your weedmat and mixing your soil
- Roll out your weedmat inside each bed and have it extend up the side of the panels. The weedmat will prevent soil washing away when you water your garden bed. Trim the weedmat to size.
- Fill your garden beds 70:30 soil to compost and mix the two together thoroughly.
- Leave roughly 50mm at the top to allow for mulch.


STEP 3: Planting
- Refer to the seedling labels to find out how far apart you should plant your seedlings. Don’t forget they will grow so take care not to overcrowd your garden bed.
- Lay your seedlings out on the soil to get an idea of how your plant arrangement will look.
- When you are ready to start planting, squeeze the bottom of the seedling containers to ease the seedlings out. Gently ease apart the bottom of the roots on each seedling. This will help the small roots spread out and grow into the soil.
- Dig your holes a small amount deeper than the depth of the seedling roots. Place each seedling in its hole and fill to the top with soil. Gently press down around the root base of each seedling.
- When you are finished planting, apply a 2-inch layer of mulch around your seedlings. Do not mulch right up to the base of the plant as moist mulch gathering around the base can cause it to rot.


STEP 4: Irrigation
- Insert sprinklers into the centre of your garden beds and measure out the amount of poly pipe required to join them. Cut to the length needed.
- Attach the 4mm poly pipe to the Twista Spray.
- Attach the drip faucet to the other end of the poly pipe.
- Screw the snap on adaptor onto the drip faucet and connect your garden hose.
- We suggest connecting the irrigation system of the Raised Garden Bed to a Holman Poly Pipe or a garden hose and to a Holman Bluetooth Tap Timer. This will provide your garden bed with regular automatic watering.
- Spring watering guide: schedule watering every 2nd/3rd day for 2-5 minutes. Everyone’s garden bed conditions will differ in sun exposure, temperature and air flow so we recommend checking the soil moisture after the first few waterings and altering your watering schedule as necessary.
- Summer watering guide: schedule watering every day for 2-5 minutes during Summer. On extra hot days you may want to schedule two quick watering times, one in the morning and one in the afternoon. Everyone’s garden bed conditions will differ in sun exposure, temperature and air flow so we recommend checking the soil moisture after the first few waterings and altering your watering schedule as necessary.


STEP 5: Maintenance
Feeding
If you have used a compost and potting mix, or a premium quality potting mix that includes slow release fertiliser you won’t have to feed your plants until the following season (3 months after planting). You will most likely find the soil level has gone down after a few months and you can top up your garden beds with a combination of good quality organic compost, potting mix and some blood and bone.
Watering
Water your seedlings in the morning while the temperature is still cool. It is best to avoid watering in the evening to avoid fungal and bacterial leaf spot diseases. One of the main causes of these diseases is standing water on the leaves due to the cool temperatures overnight and lack of sunlight. Take care not to over water your seedlings. Monitor the soil moisture levels by sticking your finger in the soil and checking if it requires more water.
Harvesting
To encourage new growth, ensure you harvest regularly as soon as your plants have matured (2-3 weeks after planting). Avoid picking off individual leaves (ie. Basil). Instead, cut right above a leaf pair and in a few weeks, your herbs will be ready to harvest again.
TIPS
Shady spots
Shady areas of your garden that receive less than 3 hours of sunlight can grow a limited variety of herbs but are a great spot for a wide range of non-edible plants.


Companion planting
Consider the benefits of companion planting when choosing your plants. Certain herbs and flowers act as pest repellents due to their natural scent and are an effective and organic way to reduce pest numbers in your garden, and not to mention unnecessary pesticide use. In addition, planting companion flowers attracts helpful insects like bees, butterflies and ladybugs into your garden. As a starting point, basil, marjoram and rosemary are popular companion herbs, and nasturtiums and marigolds are great at attracting beneficial insects.