The cold weather doesn’t have to stop you! Prepare your garden beds so you can continue growing herbs and veggies over winter.
We’ve put together some steps that will help you prepare your garden beds for the cooler climate. Depending on the size of your garden, this is something that can be achieved over the weekend. Plus, it’s a great task to get the kids involved!
If you haven’t already, harvest the current produce you have left in your garden. Now is the time to start planting veggies, herbs and different greens. These will allow you to create hearty winter dishes later in the season, like soups, stews and warm meals.
Planning
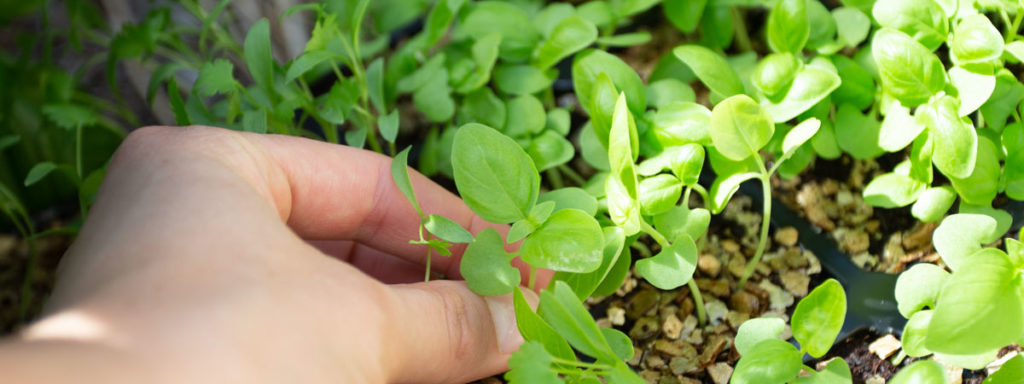
You will want to do some planning beforehand, as the location of your Garden Bed is important for Winter crops. Crops in a Garden Bed require a full sun position over the cooler months. Garden beds positioned closer to walls, fences or buildings have a great advantage as they retain more heat, allowing your crops to get some extra warmth overnight. This is also a good time to collect your seeds, seedlings and cuttings for your plants. Some veggies and herbs you can get started on include:
Veggies
• Beetroot
• Broad Beans
• Broccoli
• Cabbage
• Carrot
• Cauliflower
• Kale
• Leek
• Lettuce
• Onion
• Peas
• Silver beet
• Spinach
• Turnip
• Rocket
Herbs
• Chamomile
• Chives
• Dill
• Fennel
• Garlic
• Horseradish
• Lemon Grass
• Mint
• Oregano
• Sage
• Thyme
Preparing
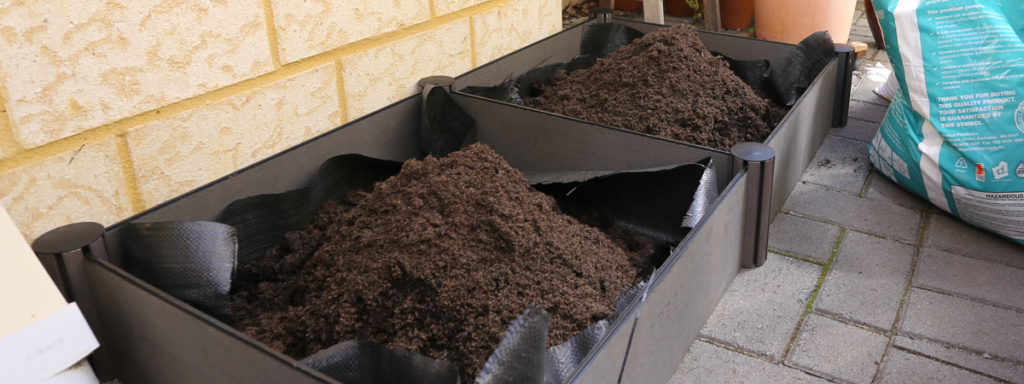
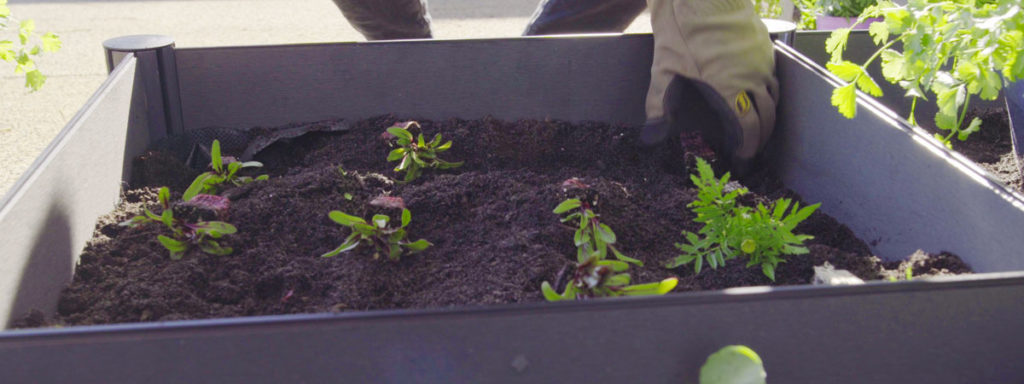
Now that you have decided what to start planting and you have harvested the summer crops. You will need to prepare the soil. Start by removing as many weeds and roots as you can. Weeds often take away essential nutrients from your plants, so the more you can remove the better! Dig up and turn over the soil, or if you are using a Raised Garden Bed, remove some old soil to leave room for fresh, nutrient-rich compost and mulch. This is an important step as aerating the soil helps with root growth.
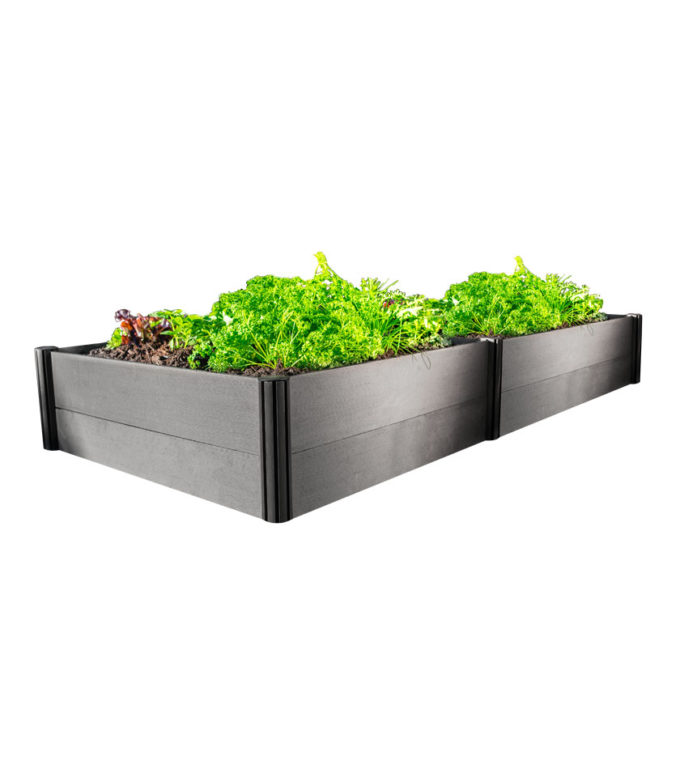
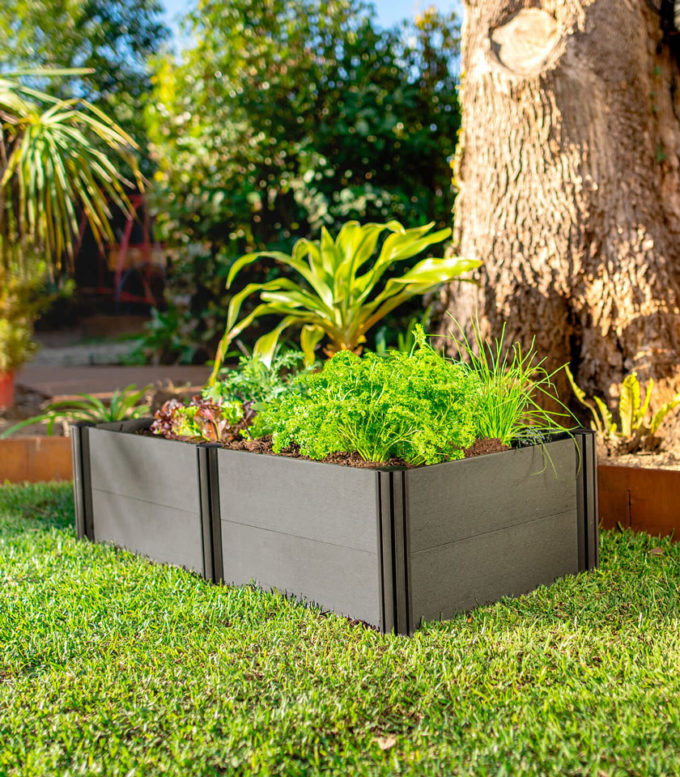
If you are wanting to expand or create a garden bed, our modular Raised Garden Beds are a non-permanent option if you’re renting or looking for something versatile. The modular design allows for easy expansion and disassembly. This is handy if you ever need to move the garden bed to a sunnier position or take it with you in the future.
Conditioning
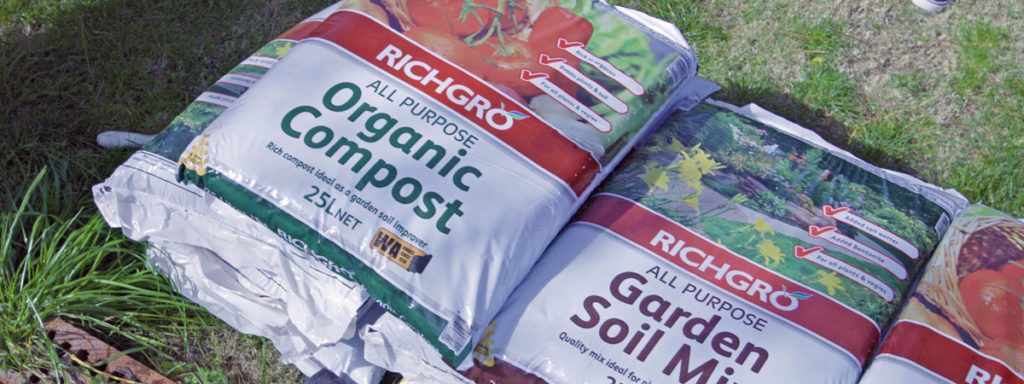
To help encourage earthworms and root growth, condition your soil before you start planting. Inexpensive soil conditioners include cow and chicken manure, plant compost and seaweed or a seaweed concentrate. Apply and mix the soil conditioner with the top few inches of soil, then rake evenly. If using a Raised Garden Bed, mix gently with the top layer of soil.
Watering
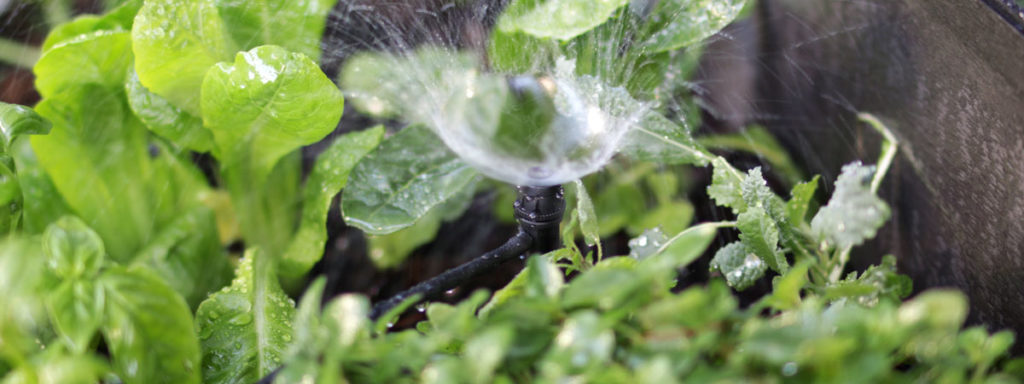
To help any compost or manure settle and break down, water your garden bed at least one or two days before you start planting. Our Raised Garden Beds include a self-contained irrigation system that plugs in to a standard hose connector, set it up with an automatic tap timer to make watering a breeze.
Planting
For an inexpensive and a wider range of veggies, sowing seeds has a greater advantage. Some plants grow better directly from seeds, rather than seedlings, such as radish, spinach, carrots and beetroot. Evenly space your seeds across your garden bed, cover with soil and thoroughly water. If you are planting with seedlings, plant and space accordingly to the instructions provided.
If you are growing from seeds, a Greenhouse will ensure they are staying at the right temperature. This is especially effective against cold days and chilly nights. Growing your own seedlings is also a more cost-effective option than buying them already propagated. If you need a guide on how to properly propagate seedlings, you can check our blog post here.
Now that you know how to prepare your Garden Beds for Winter, make sure you share your journey with us on Instagram! You can follow our gardening projects and tips & tricks here: @holmangarden



 No products in the cart.